Wednesday 30 September 2020

FHC resto nr. 111; Striping


With my holidays almost over I returned to the shed for a job that has been postponed several times in the past year. Fitting the striping to be precise. Early in the year I decided to
remove the striping from the bonnet and change the pieces for the wings. Sadly though a friend who has the gear to cut the new items had run out of black self-adhesive foil. As it is easier to apply all parts in one go, I decided to wait with applying the remaining striping parts and decals till everything was ready. Fast forward 7 months and the new stock of black foil still hasn’t arrived! So I reversed the decision, and went to the shed armed with kettle, washing liquid and other household stuff. And the various parts for the striping of course.


I decided to start with the striping for the right hand rear wing. After washing off any dirt or dust, de-greasing and applying some soapy water the striping was put in place. 
Aligning went pretty smoothly. When I “designed” the striping, I used the door handles and the top of the door running parallel with the door handles as datum lines. With the stripe running in a straight line, parallel to these lines, from the rear wing to the front of the door.


With the stripe correctly positioned it was time to get an old ID card and the hairdryer out. And with most off the water rubbed from underneath the foil, it was time to gently pull off the backing foil. And that’s where it went wrong! I wanted to work from back to front, so the bottom of the downward part would remain in place and any stretch could be dealt with at the door gap. But whatever I tried the backing foil in that area refused to come of the striping. And working from the other side immediately stretched the two thin outer stripes. A long story short: Waste bin 1 – Car 0!
Normally at this point you walk away from the job for a while. Sadly that doesn’t work when you’re working in a shed, away from home. So the only option left was to carry on with the remaining pieces. Just to be sure it wouldn’t happen again, I cut the backing foil right back to the striping. And hoped for the best. Though slightly nerve racking, this time the initial plan worked. Hooray!


Only three items left. Next in line was the striping for the bonnet. I fitted that already a few years ago. But then I noticed that one of the two stripes wasn’t fitted perfectly. So that needed rectifying! And as these pieces were much smaller they were far easier to handle and apply. (sorry, I should have taken a picture with the bonnet up 😜
)


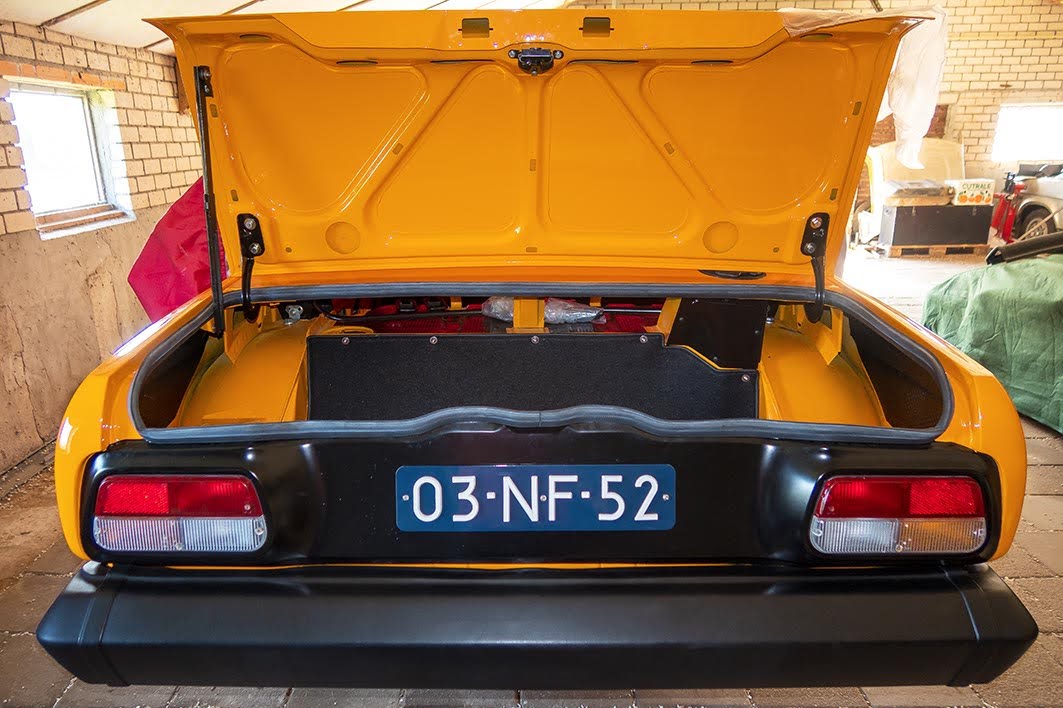
That left me with one final piece, and also the smallest. A small “SPRINT” decal. This is actually a left over from one of the door stripes. But I thought it would look good on the boot lid. For its position I followed the dimensions for the “TRIUMPH” boot lid decal of the later Canley and Solihull cars. And of course the early “TRIUMPH TR7” decal (with a twist) already in place. So now you don’t have to overtake me to know what’s under the bonnet 😁
.


That leaves me with the job of producing the stripes for the front wings and the right hand rear wing of course. With some spare decals thrown in. And a different font for the TR7 on the rear wing. See how that looks in real life. Hopefully to be continued very soon!


Back to my regular work tomorrow. It was a productive month! 

Tuesday 29 September 2020

FHC resto nr. 110; More small jobs

Or should I say that I entered the end-of-my-holidays-frenzy! At least I managed to complete a few more small jobs on the car.


To start with the interior light armature. I sourced that from the shed over 4 years ago, with the idea to clean it and fit it to the car in the then near future. Sadly life intervened in a negative way. Fast forward and last Sunday I was going through the small parts littering my study. As the F1 Grand Prix of Russia had finished, and the weather was rather wet, I thought it a good idea to clean the armature. As I had found a few extra spares in the past years, I decided on a little cleaning experiment.


To get rid of the oxidation I dropped the armature for 15 minutes in a lukewarm solution of cleaning vinegar, rock salt and water. Turned out to work quite well as the picture below illustrates


Another job that had been haunting me was the boot light switch. The very early original item (606239) got lost during the move of all my parts from René’s place to the shed. At first I didn’t think much about it as I had enough of the later switches. And that is when I found out that the later switches wouldn’t fit. Also the early left hand boot hinge I had prepared turned out to be missing its welded on tab to activate the switch. Time for a rethink!
So one of the items that were picked up after powder coating was the part of the boot lid hinge from a later car that bolts to the bottled. And I found out that I had a freshly galvanised tab between the coated parts! So these were fitted together.


After which it was time to remove the left hand hinge from the boot lid and replace it without damaging the paint work. It took me almost an hour but I succeeded. Also managed to fit a later type switch. Although it works I am not very impressed with the fit. Luckily it is mostly hidden from view! Though I will probably have a go at adapting it to get a slightly better fit …


And the final job for a day well spent in the shed was fitting the door strikers. The driver’s side went rather smoothly.


Though I have some doubts about the right hand (passenger side) latch. With the latch fully engaged there is a fair amount of free movement. Which isn’t there on the driver’s side. Looks like I’ll have to fit some door seals first, to see if that changes the matter. I hope so! Otherwise I’ll have to prepare another latch.

Monday 28 September 2020

FHC resto nr. 109; Front bumper

I picked up the freshly (powder) coated front bumper bar just before the weekend, together with some other parts for the ’76 car and my two other TR7’s. As ever the quality of the work done by Habraken in Best was spot on.


And today I spent a few hours in the shed. So after about 30 minutes of careful work (I didn't want to break another cover!), the covers were fitted to the bumper bar.


The anoraks already will have counted 6 cover retaining plates (ZKC2251) instead of the official number of 4, as stated in the parts manual. But as you can see, there are also no studs in the corner cover. And no sign there ever were! So I used an extra retainer plate to keep this cover in position.
I could have fitted the bumper to the car, as I did with the rear bumper. But that would probably restrict access while fitting the head lights and wiring. So that will be left for another time. 

Thursday 24 September 2020

FHC resto nr. 108; Shot blasting

Yesterday and today I spent some hours on cleaning and shot blasting the remaining alloy parts for the Sprint engine for the car. To start with a few before pictures.


And a few pictures after spending an afternoon at a friend’s workshop and his blasting cabinet. Which was loaded with glass beads. Ideal for alloy parts!


And after fitting some of the zinc plated and (black) passivated parts.


Though I found out a few of the threads in the manifold and timing cover need thread repairs, as the original threads have been stripped. To be continued …
 

Wednesday 23 September 2020

FHC resto nr. 107; Britisch Elend


This side of the pond, and within a stone’s throw from the German border, British Leyland was often referred to as Britisch Elend. Which loosely translates as British Misery. And today it was
clearly illustrated 
(again I dare say 😳), to which they owe part of this bad reputation!
I was cleaning some alloy engine parts for the new Sprint engine, after which these will be bead blasted. And while washing away the accumulated dirt of some of the parts I found some signs of poor quality control.


The first was the thermostat housing, which looked fine from the outside for an approximately 40 year alloy part. But it didn’t need a closer inspection to see the machining of the sealing surface was rather poor. After taking circa 0,10 to 0,20 mm off, the bad areas are still clearly visible. No wonder thick carton / pressed paper gaskets work best here!


The other part that slipped through BL’s infamous quality control was this 12 vane water pump housing.


At least this one already looked sloppy from a distance! But while cleaning it and removing some casting burs from the outside, I noticed something completely wrong internally.


As can be clearly seen in the picture above almost the entire passage from the pump to the radiator is blocked. This looks like it is caused by a fault in the casting mould. I have seen some poor casting quality from BL over the years. But not as bad as this one! Luckily the divide was only one or two millimetres thick. Which meant I could hammer it out with a punch. Now I only have to find a tool with which I can reach and remove the burrs. But that is for another day!


Though this makes you think. How could this still be fitted to an engine, that came out of a running car. Probably overheating and blowing head gaskets all the time or …!?

Tuesday 22 September 2020

FHC resto nr. 106; Boot trim


I left you on this topic almost two weeks ago, hoping everything would be ready within a week or two. Well my local car interior trimmer again didn’t disappoint here! As one of the pictures in my previous post (and above) clearly shows! The picture below gives a good impression of the complete trim panel in situ.


As can be seen the dimensional drawing I produced was spot on. As was its transfer to the final product. The same applies for the floor matt that I got back. This was made using an original one as template:


And today I picked up the other boot trim panels and the B-post panels. For all these parts, original panels were used as template. Well pleased with the quality of the work (and that also includes the price I was charged!). To be continued!


Monday 21 September 2020

FHC resto nr. 105; Rear bumper


I left these parts well over a week ago, and still feel bad about it. But hey, life goes on! So while looking into options for a replacement centre front cover I started with ordering a new battery powered drill. Yes the old one didn’t survive 😈, but it wasn’t working anyway. Plus after well over 20 years of service it wasn’t viable to spent much money on it! And with that sorted I went in search of some motivation to get back to the bumpers. So I took the DHC for an almost 500 km long round trip to the German Eifel with a friend. Which was a lovely day out. But I forgot to take any photos. So you’ll have to do with this one taken in the shed the day before the trip.


With some motivation regained, I returned to work on the ’76 car. And it is rather obvious that I started with the rear bumper. Earlier in my holidays I already cleaned the covers thoroughly, which meant the next task would be fitting the covers to the bumper bar. This bumper bar was e-coated a few years ago, having the added bonus that it is coated not only on the outside but also on the inside. And the e-coating layer is relatively thin. So the covers went on pretty smoothly.


Only problem was the centre section which was bulging upwards in the middle. To get this inline I used some binder clips (with the handles removed after fitting of course). And it looks like they are doing a pretty good job so far.


And with the covers fitted the only remaining task was fitting the rear bumper to the car. Though I took some precautions to protect the paint work just in case. For this I used packing foam sheets held in place by strategically placed clothespins.


For the rest this job went rather well, with most time (less than 10 minutes) being spent on getting the bumper properly centred and aligned. Much easier as well over 10 years ago while restoring my DHC
And with the bumper bar correctly aligned I could torque down the mounting nuts.


After which it was time to admire the work done. It is starting to look like a car again from the back.


Currently waiting for the front bumper bar to return from powder coating. And I even found a fairly good centre cover section 
(see the picture at the top of this post). Which after a good clean looks fairly presentable! Though there might still be a plan B here. Probably more on that later.


Saturday 19 September 2020

FHC resto nr. 104; Suppressor and door strikers

The title of this post says it all. I spent a few hours on two of the many small jobs that are part of a restoration. Call it stop gap work 😁To start with the suppression capacitor (UKC2211), which is or should be fitted between the coil and the cars body (or earth point) to reduce the signal distortion caused by radio interference. This was pretty straightforward. It only needed a good clean and a new spade connector before it could be fitted to the car.


But probably most of the time was lost searching for the correct connection terminal on the coil (6V Bosch high performance ignition coil #0221124001). When you ignore the labels it even looks a bit like the original Lucas coils!


Next job was reassembling the two door strikers (YKC2031).


These were disassembled, cleaned, shot blasted and gloss galvanised well over 2½ years ago. But I never got round (or forgot) to look into the two rubber damping gaskets that go between the three parts of the striker assembly. As can be seen in the picture above the lower gaskets were in good condition. The upper ones were not. But that was easily solved with a pair of striker seals (ZKC369) from my spare parts stock.


The eagle eyed viewer will have noticed that the striker ring in the picture above has a slightly different colour. Well that is caused by the fact that one of the two parts I sent off for galvanising came back heavily bent. So that one had to be replaced. And that also meant a different coating, because galvanising is a batch process. So not very cost effective for one single small part! 
And with all parts ready, assembling the strikers was very straightforward indeed.


I would have preferred to fit the strikers to the car immediately, but it turned out I had no more striker seals left. At least I couldn't find any quickly. So that is for another day.