Showing posts with label Back axle brace. Show all posts

Tuesday, 31 December 2013

Looking back at 2013 and future plans ...

It's that time of year again! Although my blog might tell a different story, 2013 has been a rather busy Triumph year. Sadly it was completely overshadowed by the death of a very good friend and fellow wedge owner, during the Deutschland Rally in August. Rob you are still missed very much ...


As a result of this work on the various upgrades for 't Kreng have been put on hold for a while. Mainly because most of the work (read fabricating parts) was done to keep his rally car going. And as mentioned earlier I have promised myself not to start on any physical work on 't Kreng until the DHC is completely finished. But since I made that promise another TR7 joined the collection. Resulting in a radical change of plan.

But that doesn't mean I have done nothing on the preparations for the rejuvenation of 't Kreng. Over the past year I have been working every now and then on various adaptations for 't Kreng V2.0, and recently I was able to reap the first rewards of my labours (consisting mostly of taking measurements and making drawings and computer models).

First there is the strengthening plate for the back axle, laser cut from 10 mm aluminium ...


And this piece of 6 mm thick aluminium sheet, which will be turned into a sump guard ...


But although these bits are all alloy, they are going to put a few extra kilograms to the car. The good thing being that these items will be mounted low down on the car, so it won't harm the cars centre of  gravity. I also acquired a pair of nice and shiny alloy front wheel hubs from Hamilton Motorsport, to shed a little of the extra weight gained. These should knock of approximately three kilo's of the front suspension. But as I won't be fitting them yet I stored them away for the time being, so no pictures yet. And before fitting them I'd like to have them anodised. So a search  for a company that can do this is near the top of the to do list.

Then there was the very long struggle to get the DHC ready for Club Triumph's 10th anniversary edition of the 10 Countries Run. But in the end I got her to the start and she performed faultless during the entire run. What more could I wish for !? And although I didn't use the cars as often as I would have wanted, they both saw a fair amount of action. With the best being these three events organized by Club Triumph;
I already mentioned that my TR7 plans have been changed. This is what the plans are as I see them now at the end of 2013;

The DHC: that needs a few finishing touches. The dashboard illumination needs upgrading. Despite fitting new bulbs one side is very badly lit. It looks like one or two of the bulbs are not working. Maybe need to fit another circuit to the back of the instrument cluster. Then there is the problem with the fuel gauge. Still have to look through my spares to find another low fuel delay unit. And last I am currently waiting for a friend to make me some nice and shiny alloy wheel centres for the DHC's new wheels. The finished product should look like this ...


And as a future project I will replace the SU carburettors with an original FI setup I have lying around. But I will replace the single throttle body, ECU and injectors for modern parts.

't Kreng: Initial plan had been to dismantle her as soon as the DHC was completely ready and reliable. But even before I acquired the '76 FHC that plan had been abandoned in favour of a "rolling" approach. So I will tackle the various jobs one by one without taking the car of the road for a longer period. Added bonus, especially with the suspension upgrades, is that it can be controlled much better. There is time in between jobs to drive the car and evaluate how the handling reacts to a modification. The rest of the plans for her are unchanged, safe for the paint job I had in mind ...

'76 FHC: As already mentioned :-). Hopefully the body man will be able to inspect the car within the next few weeks. So I can start to plan the various jobs that need to be done.

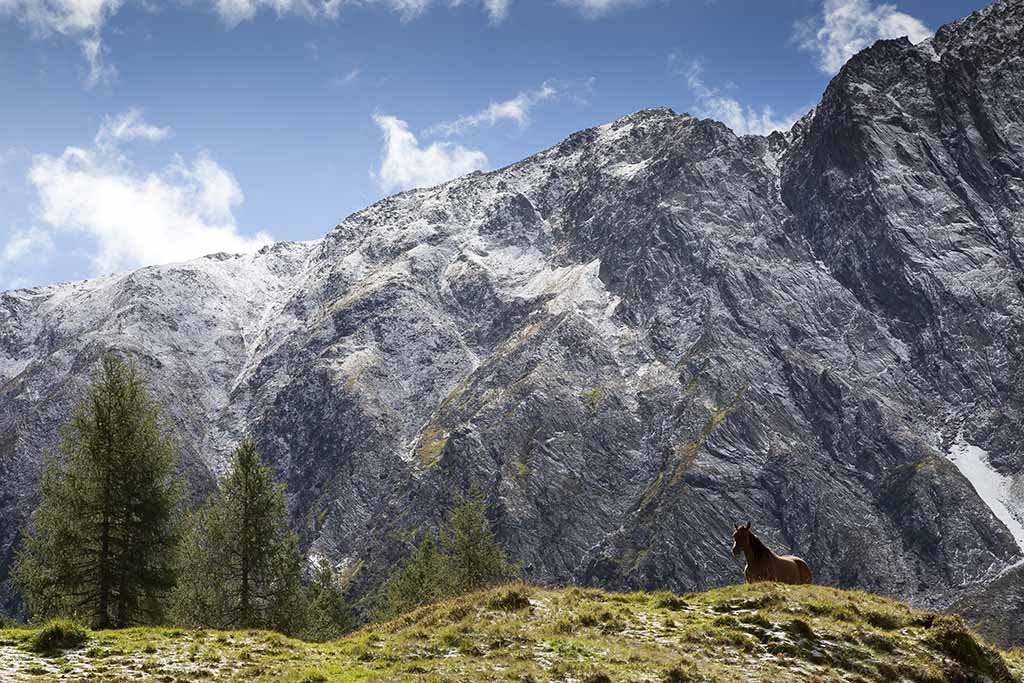
And in between I also managed to go back to Süd Tirol in a boring grey Euro-box for a two week walking and photography holiday. As a few pictures tell so much more than lots of words, some of the high lights:


And there are plans to take the DHC there for a touring holiday next spring or early summer 😎


I'd like to wish you all the best for 2014. See you next year.

Thursday, 11 July 2013

Back axle version 1.2

I should have been away on a walking trip to Süd Tirol now, but sadly we had to postpone that. Hopefully we will get another chance in the second half of September. Decided not to return to work immediately but start with some preparations on the cars. Over the past few months I have been toying with the various options for locating the anti roll bar to the new back axle set-up for 't Kreng. Initial plan was to use adapted upper links for all four parallel links, but that left me without mounting points for the anti-roll-bar. But there were a few available options, and the following options have been studied;
  1. The anti-roll-bar mounted against the rear bulkhead above the back axle, with drop links from the end of the anti-roll-bar to the back axle. This was hampered by lack of space between anti-roll-bar ends and the underside of fuel tank. Also problems with the routing of the exhaust;
  2. The same as above but with the anti-roll-bar mounted underneath the back axle. Here there were clearance problems with again the exhaust and the propshaft;
  3. The anti-roll-bar fitted behind the back axle, underneath the spare-wheel-well with mounting points either on top or below the back axle. In both cases there might be issues with the exhaust;
So in the end I decided to model the original lower links and rear anti-roll-bar in AutoCad to see if that set up could be adapted and used. But first I had to find a spare set of lower links, which in the end I found hidden somewhere in the shed. I got them many years ago from a friend, but never used them as they are of the earlier (4-speed) type, thus lacking the bump stop at the rear to prevent the axle from twisting upwards under power.


And after taking some measurements on one of the lower links and a spare anti-roll-bar I was able to model them on the computer ...


As you can see adapting the lower links to accept rose joints should be rather straightforward. This is of course helped by the fact that they won't get the loads from the springs as these are already fitted directly to the back axle. And with everything "fitted" it was time to load everything up in the main file to see how the clearance is. Especially the clearance between the anti-roll-bar and the back axle's stiffening plate, and between anti-roll-bar and the Panhard rod are crucial.


Clearly visible is the fact that clearance between anti-roll-bar and Panhard rod is fine, although I think in real life it might be a little less. Well pleased with that as it makes life a lot easier because I can work from a (well) known suspension set up, and don't have to try out all sorts of (custom ) made anti-roll-bars.
And with that sorted it is time to start with preparing the DHC for this year's edition of Club Triumphs 10 Countries Run, which will be run in early September.

Tuesday, 30 April 2013

Back axle version 1.1

When I started the restoration of my DHC it was to provide me with a reliable TR7 to bridge the gap while working on the next and hopefully last stage of the upgrades for 't Kreng. Which automatically means that I won't start with any physical work on 't Kreng before the DHC is in proper working condition. But so far the DHC has not shown the reliability I am used to with my TR7's. Since the car came back on the road almost three years ago I had to change or repair a lot of items. As there were two leaking water-pumps, one leaking clutch master cylinder, two bad gearboxes, one worn clutch assembly, one shattered door mirror, one worn viscous coupling, one cracked fan, one broken prop shaft and of course the problems I encountered with the paint ...

As a result of all these problems with the DHC so far work on the rejuvenation of 't Kreng has been postponed for the time being. But not completely. As I had not much better to do with my spare time I decided to have another look at the digital version of the back axle set up for 't Kreng. And it was good to revive my AutoCad skills a bit! So I decided to model the axle and the necessary modifications in 3D, as this gives a much better impression on clearances etc.


Next on the to-do-list are the adaptations to the cars body, like the new upper axle mounting points, the chassis mount for the Panhard rod and the roll bar. Also looking in detail at a new rear brake set up.

And got a phone call today that the stiffening plates for the back axle are going into production soon and that the alloy sheets for the sump guards have arrived too. It looks like it's going to be a busy summer.

Saturday, 30 March 2013

New back axle set-up for 't Kreng

Today I at last found some motivation to take one of my Triumphs out of hibernation, in this case 't Kreng. As she had stood idle for quite a while, it took the fuel pump some time to create enough fuel pressure to get the engine started (almost empty tank), but she did in the end. As she had been sitting outside underneath the car-port since I returned from the 24th edition of the Nachtrit in early November, it came as no surprise that she ran a little rough. The still low temperatures for the time of year didn't help there. But after a few careful kilometres to get everything on temperature she started to behave quite nicely indeed. And with some fresh German 102 RON petrol in the tank I quickly forgot that she hadn't been used for almost 5 months, it really felt good driving the car again.

And that also reminded me of the fact that, as it stands now, she'll be taken apart for the final part of a 15 year upgrade. I mentioned earlier that I have planned some body and suspension modifications, like ditching the horrid sunroof (probably will get a Viking burial!), add a welded in cage, a new suspension set-up front and rear, adding lightness and a new paint job. And mainly thanks to the rather unseasonable weather (still rather Brrrrr.) I have managed to put some ideas for the back axle on (digital) paper.

As those of you who follow my ramblings on a regular basis know, I have been toying with the idea for a 5-link Panhard rod or a 6-link Watt's linkage set-up for the back axle. So after taking lots of measurements of the back axle and the car and doing some simple mathematics calculations I have decided that the Panhard rod option is the one to go for ...


It is fairly easy to accommodate a Panhard rod with a length of 965 mm (or 38" in old Imperial measurements). Together with my current spring set-up and ride-height the back axle should have a maximum bump travel of 85 mm. Although judging by the markers on the rear dampers 50 - 75 mm of travel is a more realistic figure. And with the mentioned rod length of 965 mm that gives a sideways movement of less than 3 mm, which shouldn't be noticeable when driving the car.

Some other advantages of this Panhard rod set-up are that I only need one fairly simple bracket for the car's body and one for the axle itself. Also this set-up should fit in the original space between the rear of the back axle and the front of the spare wheel-well.
Apart from the very positive fact that with a Watt's linkage there is no sideways axle movement, choosing for a Watt's linkage has some disadvantages. Using the linkage from the Rover SD1 back axle means I have to fabricate two mounting brackets for the body. But I also have to adapt the front of the spare-wheel-well a little to create some much needed clearance. The other option is to fabricate a central pivot point on the front of the spare-wheel-well and add two mounting brackets to the axle. So a lot more work and some extra weight compared to the Panhard rod.

But before physically starting with any work on 't Kreng I first have to finish the DHC ...

Wednesday, 27 February 2013

Computer work

Still rather quiet on the Triumph front, with still no physical work done to one of the cars. I had planned to change the DHC's gearbox, clutch and prop-shaft some two weeks ago. Even went as far as checking that the car was running, tyre pressures etc were OK, and even moved over all the tools and parts to the workshop the day before. But sadly a rather persistent flu has prevented that till date. So I have to find another time slot to carry out the swap ...
On the back-axle-strengthening-front also not much progress, as the guy who is coordinating the job has been out of his work for 2 months due to an injury. At least that gave us some time to make a wooden template using a full scale print out of my design. I have to admit that I was rather pleased by the fact that it was a near perfect fit, no adjustments to the dimensions are needed ...


Some of the holes around the differential didn't line up 100% but that was due to the fact that we used a rather crude drill to do the job. Most importantly the mounting holes for the clamps on the outside of the brace are centred nicely around the axle-tube.

Than a more worrying bit, I can't seem to make up my mind whether to modify the back axle to four parallel links + Watt's linkage or stick to the original layout. At the moment I think the best thing to do is use one of the spare body shells somewhere this spring and use that to make a mock-up for the pickup points for the axle, Watt's linkage and anti roll bar. That at least should give a decent indication of the work involved with the set-up I have in mind.

So to keep my mind occupied for the time being, I decided to see how the new AutoCad version which I installed recently works, and had a go at designing a 36-1 trigger wheel which I'll be needing when I convert the Sprint engine to EFI. Not yet sure if all the dimensions are 100% but I think this should do ..


And with the computer fired up I also had a go to work out the rough outlines for a sump guard, loosely based on the ones used on the works' rallye cars. Another one that will need one of the cars, this time to determine the mounting points ...


And of course, being Dutch and with the Pound loosing rapidly against the Euro, I have been ordering various parts for the engine and back axle


Tuesday, 20 November 2012

Back axle strengthening

This is one in the category that I wouldn't have done to my car, were it not for the fact that a friend managed to break the back axle of his rally car at the end of this stage during the Deutschland Rally. And because he doesn't want to source and adapt a 4HA Jaguar based axle yet, we had a closer look at what had happened.
The problem was caused by a failure of the two puddle welds holding the right hand axle tube into the differential casing. Clearly the amount of torque available from a modified V8 together with the rough stages had been just that bit too much. So we needed a modification.

Searching through some old CCC articles on building a TR7V8 rally car, learned how to solve what is apparently the only weakness of the 5-speed back axle, i.e.: the fitting of the tubes into the differential casing. These tubes are normally pressed into the casings and welds are built up on the tubes through holes already in the casing. These welds are not intended to bond to the casing, but act as spigots or retaining pins. Unfortunately there are only two of these 'puddle' welds per side, and in this case the two on the right hand-side failed.

According to the people at CCC all that appears to be necessary to solve the problem is to increase the number of puddle welds to four per side. But we decide that we would go one stage further for the rally car, so we had a good look at the stiffening plate from a friend's Mk2 Escort back axle. And after some careful measuring on a spare axle and underneath the car, and a strength analyses we came up with this stiffening plate ...


At the time of writing the drawing file is away to a company to give us a quotation to get the plate laser-cut and the brackets machined. And after all the work I put in to get this far I don't see a point in not using one myself. So we will have a small batch made, depending on the price ...