Sunday 14 March 2021

FHC resto nr. 124; Refurbishing facia harness RKC 4348

After taking lots of pictures of the facia loom last weekend, I took my time to carefully check all pictures. And when I was satisfied with the photographic records of the loom I could start with the actual job, starting with the main harness connectors. To remove these I had ordered a set of small connector removal tools. They were cheap and Chinese, and as such poor quality. But they did the job … sort off!


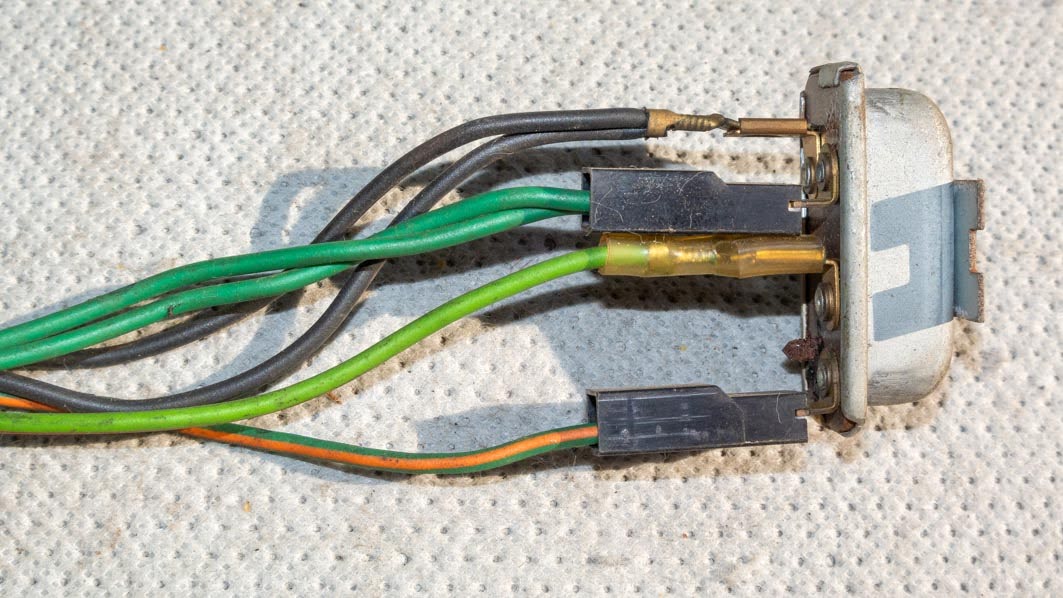
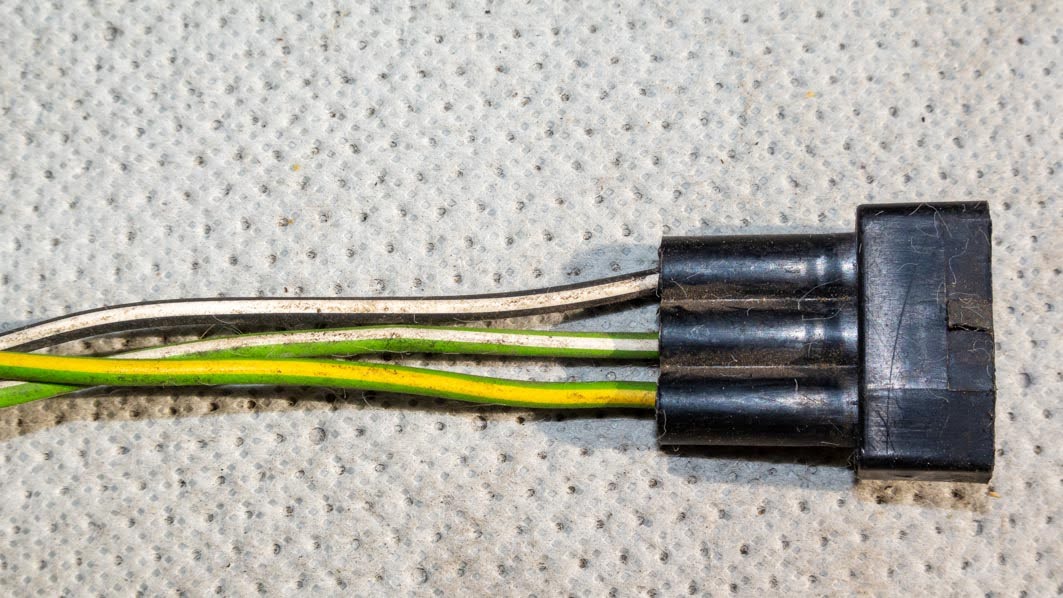
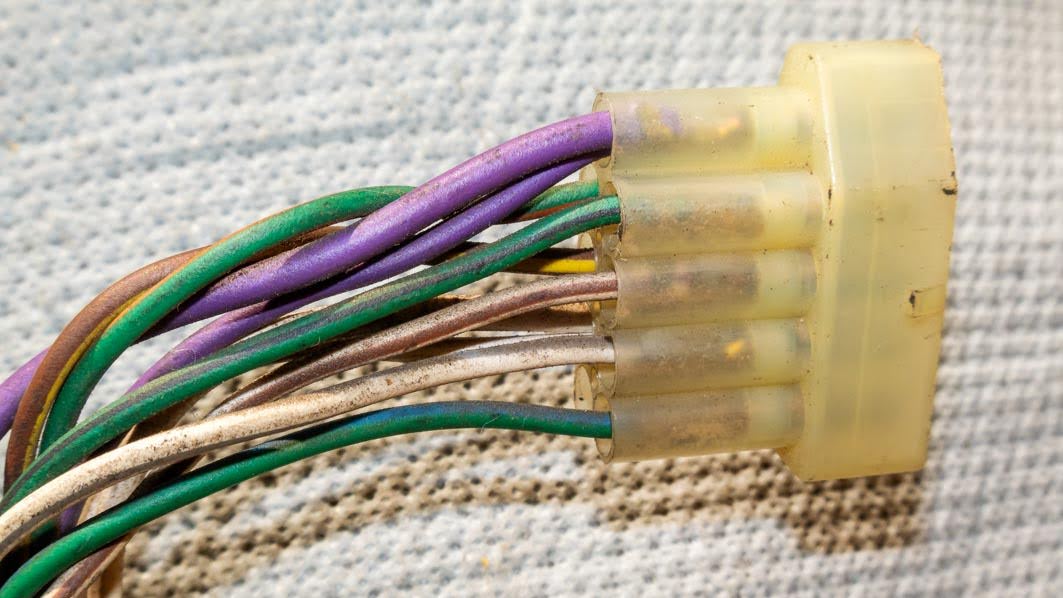
With the connector blocks removed, the initial impression of this harness was confirmed. All contacts were in very good condition. Though I gave them all a light polish just in case! After that the wires were cleaned with a rag moistened with petroleum ether. The connector blocks were treated to a hot bath in soapy water and a good scrub using an old tooth brush and a (trumpet) mouth piece brush. Which worked very well.


With everything cleaned it was time to put my photographic inventory to the test: adding the wires to the connector blocks. With the pictures on the screen in front of me, that was easy.


Plan was to remove the connector blocks for the facia switches next, but the tool decided it was enough. So far for cheap Chinese tools! As the connectors also looked in pretty good condition, I decided to just clean them. Though I might get back to these, once I have some better quality removal tools, which will be ordered soon. This left me with the removal of the harness’ wrapping tape and inspect and clean the remaining wires. Again no hidden horrors.


Remained the final job, wrapping the loom, using special non sticky PVC tape. A few hours this weekend well spent.


Saturday 6 March 2021

FHC resto nr. 123; An inventory of RKC 4348


Started on refurbishing the wiring harnesses, which I will be using for the ’76 car, today. The plan was to start with one of the smaller harnesses, the facia harness (RKC 4348). Checking and cleaning the connectors and wires, and wrapping the harness with new wiring loom tape.
But first I wanted to document all connector blocks. This because the plan is to pull all connector blocks apart to inspect the crimped connectors and to give them a proper clean. And a photographic inventory should help to get all the wires back in their connector block in the correct position. So one of my cameras was put into action to document every connector from various angles.


That’s where it went wrong time wise. I had chosen the facia harness to start with, because it is a compact harness. So easy to work on. But despite its compact dimensions, it comes with a lot of connectors and a lot of wires. Which meant a lot of pictures. And by the time I had finished the photo shoot, and selected the pictures for the archive the afternoon had slipped by. But at least I now have a well-documented harness. The various connectors of which can be broken down in three main groups;

  1. The facia switches;
  2. The instrument panel;
  3. The main harness connectors.
Below a selection of the many pictures I took, starting with the connector blocks for the facia switches (from left to right);

The light switch:


The heated rear screen switch:


The fog light switch:


The hazard light switch:


A selection of the various connectors for the instrument panel.
To start with the low fuel warning unit and the wires that connect to it:


The 6 pin instrument panel connector:


The 12 pin instrument panel connector:


And finally the connectors to plug this harness
into the rest of the wiring of this car:


Hopefully I’ll be able to start dismantling the harness during the coming week. That’s the advantage of a small loom, I can work on it behind my desk!