Wednesday 31 May 2023

FHC resto nr. 149; Various smaller jobs


Over the past weekend I have been using the fine weather as an excuse to work on the FHC. It were mainly small jobs like cleaning the sound insulation pads for the parcel shelf (YKC3632) and rear bulkhead (YKC1609). Nothing glamorous, but good to kill a few spare hours. Especially the ageing adhesive residue of the tape used to hang the bulkhead pad from the parcel shelf pad was a pain to remove. But white spirit, an old rag and a fair amount of elbow grease solved this. And yes I forgot I had a bottle of special glue removal hidden away somewhere. Only ran into it when I had finished this job! Though it didn’t have an impact on the end result.

The parcel shelf pad (YKC3632) before

And after cleaning

The rear bulkhead pad (YKC1609) after cleaning

And with the two pads cleaned they could be fitted to the car. Sadly the third pad (WKC3340) was attacked by mice, so that isn’t quite up to my standards to be re-used. That is one that will be addressed somewhere in the future!


Another area that got some attention was the brake master cylinder and the ignition coil. The brake failure switch got a quick health check and a cleaning job. After which it could be fitted and wired up together with the coil. If in doubt; the White/Yellow wire goes to the coil’s + terminal and the White/Slate wire to the – terminal.


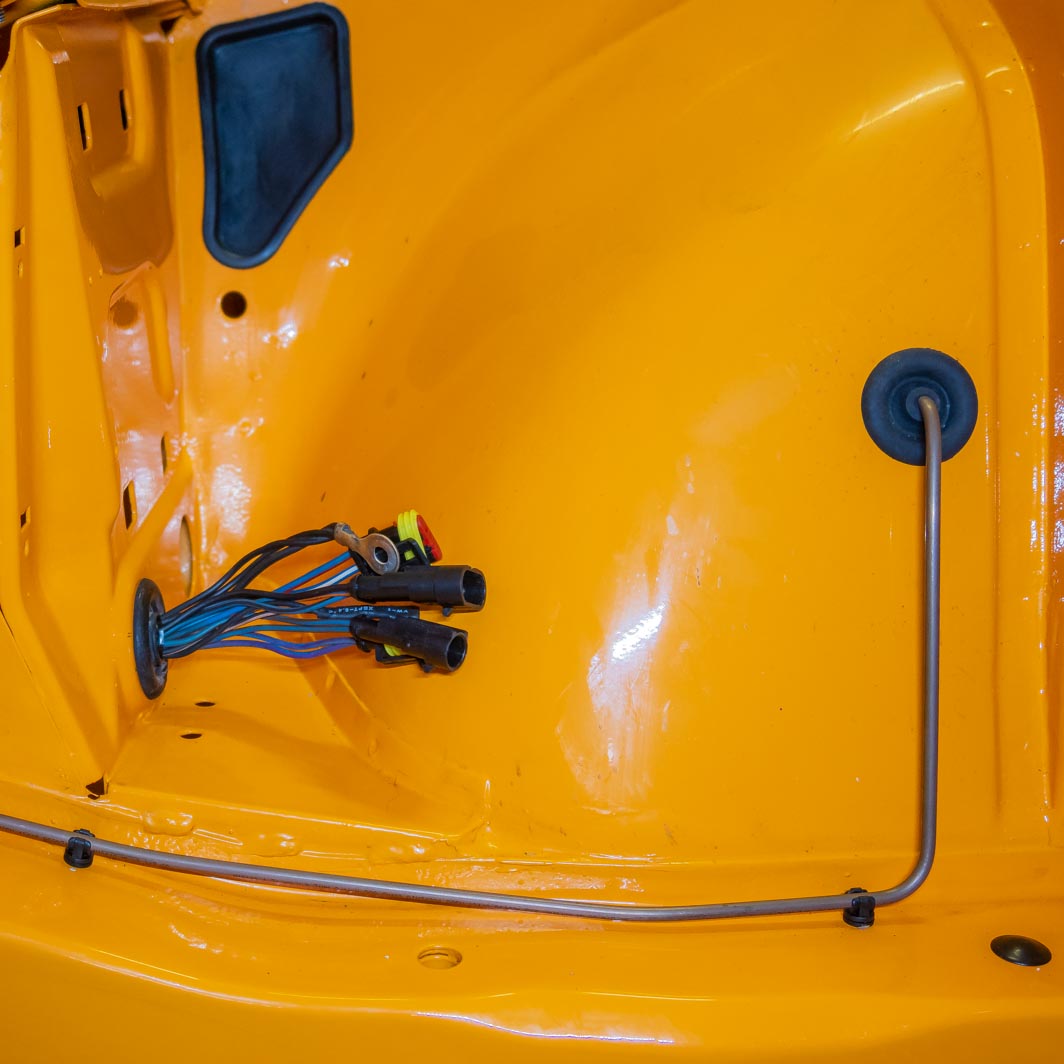
And sticking with the wiring, I added some extra wires that were deleted on later cars; the wires for the roof mounted interior light. I managed to salvage part of these wires from the cars original wiring harness;


But that wasn’t long enough to reach the A-post on the passenger side. But I did have a few meters of the
correctly colour coded wires in stock to adapt the later door harnesses for a roof mounted interior light. And with my trusty crimping tool adding the appropriate length was easy. Next job will be refurbishing and adapting the passenger door harness.
And to finish this post; I sorted all spring clips etcetera that I might need while fitting the car’s interior;


Sunday 21 May 2023

FHC resto nr. 148; Fitting the main harness

It’s been a while since my last update on the progress on the FHC. And there was a simple reason for this, indeed lack of progress! But with the temperatures slowly rising, it was time to load the main harness in the back of the LaRo and head for the shed. The still empty space that greeted me on arrival;


Clearly visible are the two mounting points for the early type fuse box mounting bracket. From an engineering point of view it is superior to the later single mounting point. But from an ease-off-assembly point of view it’s clear why they changed it later in the TR7’s production run. Don’t ask how I know. And I have to admit that I am not really looking forward to installing the dashboard assembly somewhere in the (hopefully near) future!


With the main harnesses base (= fuse box mounting bracket) in place, and the front of the harness fed through the firewall into the engine bay, it was time to connect the main harness to the body harness (RKC 3630). Followed by taping the latter in position along the inside of the right hand sill. Which was pretty easy with flexible wires due to the fine warm spring weather;


The next job was feeding the harness to the front of the car. To make life a little easier I taped all connectors to harness, using masking tape. This to prevent them from catching on any irregularities hidden inside the front wing area. And the front of the harness was than taped to an old throttle cable. This was done to help guiding the harness through the right hand front wing towards the nose panel

Ready to feed the main harness through the RH front wing towards the nose area.

The main harness pulled through the RH front wing section.
The dust jacket was there to prevent any paint damage of course!

Modern universal screen washer pump,
the connector for the wind screen wiper motor and the two large grommets

Final job was feeding the harness across the nose to the left hand head light area. This is a fairly easy job, as long as you take your time to feed all connectors through and over the various gaps and stiffening braces in the nose area.

The main harness behind the RH head light

The LH head light mounting area. 
Clearly visible in this picture is another detail typical for the early cars;
the welded on tabs to secure harness in position.
These will each get a length of heat shrink tubing fitted before they are put into use.

The connectors for the RH head light inside the engine bay

Sunday 7 May 2023

DHC repairs #4: Tank removal


As the title suggests it was time for some spannering fun. And as can be judged from the interval with the previous post the tank straps decided to put up a fight!
My first line of attack was a traditional approach, using a deep 17mm socket and wrench to undo the four nuts. But it turned out that all nuts were rusted solid to the tank's support straps. Which resulted in the straps trying to wind themselves around the socket. Trying to keep the straps in position with an adjustable spanner didn’t work either as I only have two hands. The first round was for the tank straps, time for a change of plans.
After discussing this with a few friends we agreed that the best solution would be to use a pneumatic wrench and an assistant to keep the straps in check. Sadly that didn’t work either because the (very large) compressor is situated at the other end of the premises. As a result of which we ran out of air hose well before we reached the car.
Time for plan C, forget the compressor and use a cordless impact wrench. Biggest problem here is that I don’t have one, nor any of my friends close by. Luckily a local employee from one of our framework contractors came to the rescue. Enabling me to borrow this lovely toy over the weekend.


Usually this heavy duty tool is in daily use on this kind of work:


Needless to say this made light work of the removal of the tank’s support straps. Actually so easy that I had 3 of the 4 mounting points undone by the time the assistance arrived! Though the extra pair of hands made the actual removal of the tank so much easier.


As can be seen in the pictures above the damage to the tank is not limited to the bottom of the tank. So it looks like it will only be fit for the skip. Luckily the tank’s support straps and mounting studs turned out to be in fairly good condition. And after some tender loving care they will be fit to be used again. Result!


And with the tank removed rather quickly I was able to remove doors, boot lid and hood frame. But the biggest challenge is probably still in the future! Removing all parts stocked in the other spare body I will be using …