Thursday 13 May 2021

FHC resto nr. 128; Sprint inlet manifold

Another sidestep! This time because some new tools and stainless fasteners arrived. I also needed some adhesive to bond the shift pattern into the gear lever knob. And while I was happily messing about with it I thought it a good idea to glue the two halves of my spare alloy SU carburettor mounts together. How I had them made has been documented previously HERE and HERE. So I won’t bore you with the details. And bonding the two halves together was pretty straightforward, using a small spatula to apply the (polymer) adhesive to two of the halves. After which the parts were clamped together using the counter sunk screw bolts that function as mounting studs for the carburettors. Easy!


Next job was to inspect and run a thread tap through all the threaded holes of the manifold. Turned out two holes had badly damaged threads. So these got a thread repair. Though one of the thermostat house bolt holes decided to put up a bit of a fight. But I got the thread insert fitted correctly in the end. So to make sure the insert really was OK, I 
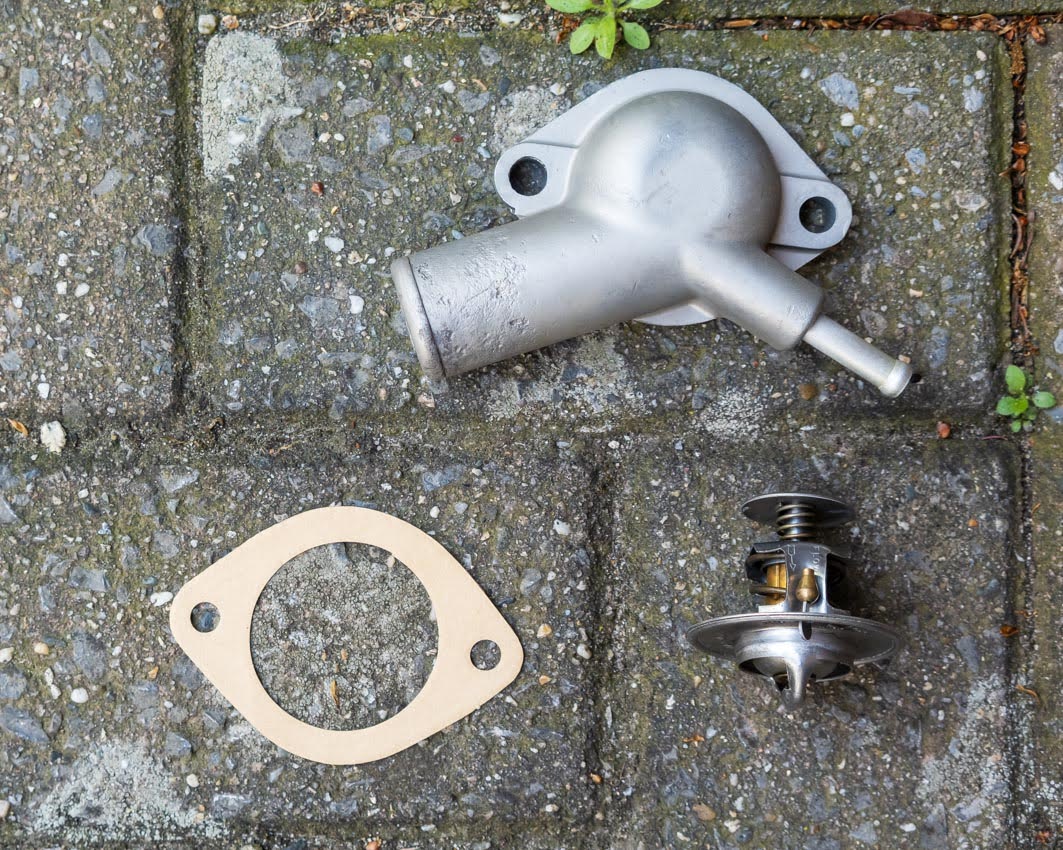
decided to try to fit the thermostat housing first. But why trial fit when you have the parts lying around to fit it permanently? The thermostat is an original MG Rover item (PEL10002EVA). I even found a (i.m.h.o. highly recommended) cardboard gasket to go with thermostat housing


Turned out I needn’t have worried! Both bolts could be tightened down properly. Time for the last job on the manifold for now, fitting the carburettor’s mounts.


Monday 10 May 2021

FHC resto nr. 127; Project gear-lever

I am still waiting patiently for the materials to finish the gear-lever-gaiter-finisher. So to kill some of the time I switched my attention to the gear lever itself. When dismantling the parts car early in the year I retrieved this gear lever, which turned out to be in pretty good shape.


It looked a bit dirty, but there was hardly any wear on the vital areas and it was undamaged. Even the gear lever knob looked in in very good condition.


At the time the assembly was carefully wrapped up and safely stored away for future use in a dry location. Sadly when I took the lever from storage the gear lever knob turned out to be not so good anymore. One way or another the gear pattern insert had started to delaminate. Definitely not fit for use anymore!


But the rest of the knob was too good to discard. Time for a little side project and experiment. But first the gear lever itself got some attention, consisting of a good clean and de-grease, including cleaning the M10x1,5 threads of both the gear lever and the knob. This was then followed by a few coats of satin black paint from a rattle can. The slightly damaged plastic cover of the lever’s steel rod was recovered with a piece of heat shrink tubing. And finally the locking nut (not being a stressed part) was heated till it was red hot and then dropped in a small jar containing engine oil. It smelled awfully, but gave a nice black finish to the nut!


The final job was renovating the gear lever knob. First the centre insert needed removing. This turned out very easy: drill a small hole through its centre, stick a small screw driver in and lever it out. Which looks like this. Quite surprised by the large recess underneath.


Remained the finishing touch; a new gear pattern insert. As I couldn’t find a direct replacement online, I decided to fabricate one from a piece of 3mm thick black anodized brushed aluminium. The gear pattern was engraved mimicking the original font style, sort off. But well pleased with the end result!