Showing posts with label Front suspension. Show all posts

Sunday, 17 August 2025

More TLC for ‘t Kreng


Part two of the general service and maintenance check of ‘t Kreng, which was carried out over this weekend. With the most important job being flushing and bleeding the hydraulic fluids. From a mileage point of view this wasn’t really necessary. But both clutch and brake fluid were well over three years old. Where my normal interval for these fluids is two years. So time to call on the help of a friend for a traditional flushing and bleeding session!
Starting with emptying and cleaning the clutch cylinder’s reservoir. And this immediately showed why regular hydraulic fluid changes are absolutely essential. The fluid I sucked out of the clutch cylinder’s reservoir was almost completely black. Forgot to take the picture but the one in this earlier post gives a good indication on how it looked! After that the reservoir was cleaned and filled was fresh brake fluid (Bosch DOT4). Flushing and bleeding the clutch system was left till later though.


We moved to the brake system instead. Starting with the removal of the brake master cylinder’s pressure failure switch. Always tricky as this one is by now old and brittle. But I succeeded to remove it intact. Probably helped by the anti-seize paste I used when I re-fitted it a few years ago.


With that hurdle successfully out of the way, we could start flushing and bleeding the brake system. Starting with the front brakes which are fed through the rear chamber of the fluid reservoir. This chamber was also first emptied with a small manual suction pump, after which it was filled with fresh fluid. And the flushing/and bleeding could begin, starting with the front calliper on the right hand side. For both sides together, we used twice the contents of the rear chamber. No air came out.


As the reservoir’s front chamber can’t be emptied with my simple pump (a large syringe type affair) we had to empty this chamber by pumping the brake pedal with one of the bleed nipples at the rear open. My assistant was a bit overzealous though, emptying the front chamber too far. Which resulted in some air being drawn into the system. Luckily the air could be bled very easily though one of the two bleed nipples at the back.


Next job was flushing the clutch system. With the reservoir filled with fresh fluid, and the old fluid still in the pipe, it should be clearly visible when all the old fluid was expelled from the system. It was! But just to be sure all the old fluid was expelled, the contents of a full reservoir were flushed through the system after clean fluid came out of the master cylinder. Job done! Actually the biggest problem here was removing the rubber dust cap from the slave cylinder’s bleed nipple underneath the car! It had collected some oil, resulting in a rather slippery dust cap.


Next on the to-do-list where the wheels. They would certainly benefit from a good clean. Rather straightforward with warm soapy water and a collection of different brushes. I did need a shower afterwards!


Final job on the on the to do list was cleaning the two earth points behind the head lamp mounting panel. Hardly any oxidation there, only a lot of paint. So I cleaned away the paint around the mounting points and refitted the earth points using some copper slip to prevent future corrosion.


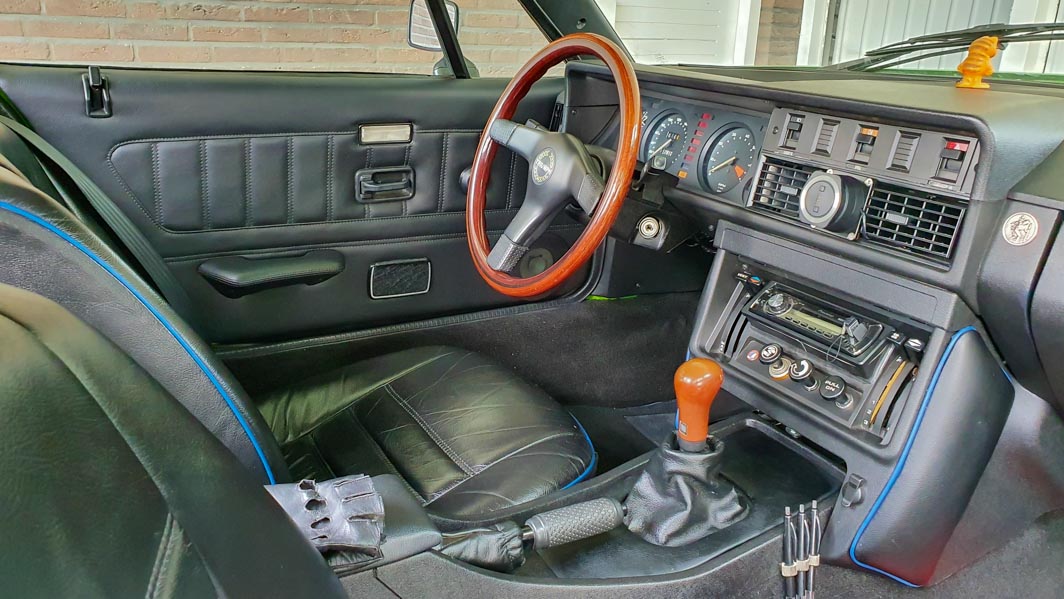
And the final job for the day was cleaning the steering wheel and treating it with a leather conditioner. The lack of use in the recent years had dried out the steering wheel’s leather cover. And after well over thirty years of service (it started life with me when I fitted it to a Mini Cooper, in 1994!), it could do with some tender loving care. It did soak up quite a bit of leather conditioner fluid.


Wednesday, 31 August 2022

Ready for the 10CR?


One very vital but also rather boring and time consuming part of next week’s 10 Countries Run was finished yesterday. Checking the satnav files, copying the road book to some maps and loading the various GPX files to my TomTom over the weekend. Hopefully we won’t be needing the atlas but I always find it somehow reassuring to have maps at hand in case all else fails and a road is closed for whatever reason!


And as mentioned in my previous post I found out the lock nut for the left hand steering rod end was slightly loose. And today being the first day of my vacation, I decided to take the car to a friend’s workshop, to have the front suspension’s alignment checked. Glad I did! The tracking indeed was out a bit. Not by a huge amount, but it could have been enough to cause problems over the distance that the car will be covering next week.
The final job for the first day of my vacation was cleaning the car’s interior and impregnate the leather of the seats with some hide food. Rather time consuming and a bit messy 😶


Remains the question how the brakes performed. To be continued!

Sunday, 22 May 2022

Servicing ‘t Kreng


Over the past week or so I managed to spent some time on ‘t Kreng. Main job was a pre MOT check and a service, starting with the dry bits at the back of the car. No real horrors there. All the back axle needed was a clean and some grease on the hand brake mechanism. It was so uneventful that I even forgot the pictures!
A problem I didn’t have with the next job, cleaning and lubricating the Weber’s throttle mechanism. As this is mounted underneath the rear carburettor it is almost completely hidden from view. Which makes removal a bit of a trial and error job. Unless you use the modern equivalent to the inspection mirror: the smartphone’s camera.


And this clearly showed that it’d be best to remove the complete air filter assembly plus inlet trumpets from the rear carburettor. It also showed that it would be best to leave the mechanism’s mounting plate attached to the bottom of the carburettor.


Removal of the mechanism revealed no hidden horrors, though the lever arms pivot axle did show light wear marks. But that should be good for a fair few years of service. Also used the opportunity to remove some slack from the throttle cable
And of course with any check of a TR7 engine bay, a close look at the water pump area is high on the to do list. The outcome was as expected. The infamous hole underneath the water pump was completely dry.


As can be seen in the picture above there (still or again) is a small leak from the connecting tube (UKC2538) between inlet manifold and water pump cover. I have been trying to ignore this leak for well over 5 years now and it has often solved itself after some use of the car. Will see how it develops over the coming weeks or months!


Next job for this part of the car’s service was an inspection of the front bearings and brakes. Starting with the bearings. Turned out the left hand front bearing needed a tiny amount of adjustment. As there was no discernible noise, I just tightened the nut a little.


Final job was a good clean of the inside of the wheel arches. It always amazes me how much dirt and soil can be collected here. Especially on top of the brilliantly (not!) placed L-shaped profiles between the inner wings and the strut towers.


Sunday, 21 November 2021

A suspension check

After the recent edition of our Nachtrit I decided it might be a good idea to give all suspension pick up points from ‘t Kreng a thorough check. This was prompted by some knocking from various parts of the suspension, mainly from the back of the car and at low speeds.
And to carry out this check properly I (again I should say) used a friend’s work shop, and one of his 4-post lifts. Makes life so much easier, as it gives much better access to all mounting points.


I started with the back axle, unscrewing all eight mounting bolts. A few turned out to be slightly loose, but nothing worrying. More importantly, none of the bolts had seized inside the (poly) bushes’ stainless inserts. The insulation paste I added well over 10 years ago had clearly payed off! And after moving the bolts around a bit they could be torqued down again. The back axle’s wheel bearings also turned out to be fine with no play in axial and radial direction.


It also gave me a good view of the bottom of the car. And yes, it won’t win any prizes at a car show. That was never the intention. But glad that everything is still in pretty good condition and solid. Also no visible cracks around the mounting points, nor any visible deterioration or damage on the various poly bushes. And that despite nearly 25 years of (sometimes pretty hard) use!


Next in line was the front suspension. As with the back axle, the wheel bearings turned out to be fine. And there were no problems with the various mounting bolts either. Though the lower sub frame bushes (Triumph Tune 70 shore rubber items) clearly are showing signs of wear and old age. So these will have to be replaced over the winter. As can be seen in the pictures below the rubber bushes between sub frame and the chassis leg have already been replaced with solid alloy ones, and the TCA bushes have been deleted many years ago for spherical joints. And this of course results in all kind of irrelevant noises being directly transmitted to the cars interior!


Final check were the suspension’s coil-over top mounts. No further action needed! Forgot the pictures though, so I’ll bore you with a recent picture 😜


Monday, 21 December 2020

Calendar Girls 2021

The cover:
Showing my current cars

As it's almost time to say goodbye to 2020, it is also time to compile my traditional calendar for next year. Sadly, due to the Covid-19 pandemic, I was hardly able to use both my road legal TR7’s for what they are intended for: Driving! And all planned trips and tours had to be cancelled. So not much kilometres were added to my TR7’s odometers in 2020. In total I covered only 1360 kilometres in my TR7’s, of which 434 kilometres were covered with ‘t Kreng and 926 kilometres with the DHC. So from a driving point of view, 2020 is also a year that should be forgotten as quickly as possible! At least with regards to my Triumphs. Contrary to the TR7’s, my Little Landy saw a fair amount of extra kilometres due to the Covid-crises. Having a “crucial job”, not being permitted into the office, and with various projects in progress, added a few extra kilometres to the LaRo’s odometer!


But these pictures didn’t make it to the calendar for 2021. And the few trips with the TR7’s didn’t supply enough pictures for my 2021 calendar either. Luckily I was able to spend some quality time on my current restoration project, the ’76 car. Resulting in a calendar which is a mix of a few touring pictures of the DHC and ‘t Kreng, supplemented with some pictures showing some of the work done on the ’76 car in 2020. Hopefully 2020 will be a better driving year!

January:
The interior of the ’76 car slowly taking shape

February:
The finished back end of the ’76 car,
leaving no doubt what engine will be fitted

March:
One of the very few tours of the year (and Covid-19 proof)
Near the Bergerweg in Vlodrop (NL)

April:
Earlier in the year I managed to lay my hands
on a factory fresh Sprint engine for the ’76 car

May:
Fitting the striping to the ’76 car

June:
Returning from the DHC’s biennial MOT

July:
The ’76 car’s exterior slowly taking shape

August:
Third and final tour with ‘t Kreng,
Dubbroek Maasbree (NL)

September:
One of the very few tours of the year (and Covid-19 proof),
Bergerweg in Vlodrop (NL)

October:
The engine bay of ‘t Kreng,
still looking fairly fresh 25 years after it was built

November:
Detail of ‘t Kreng’s upper strut mount and refurbished strut brace

December:
Third and final tour with ‘t Kreng, Dubbroek Maasbree (NL)

Sunday, 22 November 2020

Fitting the refurbished strut brace to ‘t Kreng


Shortly before the end of my holidays in September, I picked up a smallish batch of freshly powder coated parts. These were mostly for the ’76 car. But there was also a freshly coated strut brace for ‘t Kreng. But when I went over to the car to fit it, I was confronted with an unpleasant surprise. For no obvious reason the strut brace was now about 5 mm too long! Rather strange indeed, as the adjustable mounts on the bar had been very securely locked in position. At the time I managed to fit the bar. But that was only possible by moving the top of both struts outwards by a few millimetres. Time for a rethink!


Fast forward and last week the solution suddenly occurred to me. Due to the weight of the car the now unsupported strut towers had moved inwards. The fact that the almost 40 year old car’s body has had a tough life certainly has aided here. So the solution should be pretty simple: Get the weight of the wheels, and the strut towers should move apart. Thus enabling me to fit the strut brace in its original position. Sounds easy and it turned out to be just that.


First the two mounting rings (and strut tops) were put back in their original position (glad I marked out the original position). And the mounting nuts were tightened up properly so the strut tops couldn’t move anymore.
After that the brace bar was put into position, but with only one of the two mounting bolt loosely fitted in position. After which I slowly jacked up the front of the car, while keeping an eye on the other end of the bar. In the picture below the car had only been raised a small amount.


And with the front springs almost fully extended, the holes in the bar and the mounting ring were aligned correctly. Result!
 Remained the easy task of tightening the two mounting bolts and lower the car. Hopefully I will be able to enjoy her within the next few days, before her mandatory hibernation starts on the 1st of December.