Sunday 27 November 2022

DHC damage assessment part 5


Went to the shed for a few hours over the weekend, to check over a few things on the DHC. Main reason for this was to try and work out how to plan and carry out this project, in order to finish the damage quotation for the insurance. On one of my previous visits I already noticed some paint damage behind the damage. But now I noticed both doors were standing out a little at the back. And sure enough there’s some damage on both B-posts, caused by the sills bending a little under the force of the impact. Nothing life threatening, but this means that the B-posts also need work doing, because both strikers have slightly deformed the B-post. And that means more dismantling to be done!


I spent the rest of the time in trying to salvage some items of the parts I removed from the car so far. As expected not much joy there. As these parts of one of the headlamp mechanisms clearly shows. Though it looks salvageable, the lifting motor is beyond repair. It’s axle shaft is bent, preventing it from turning.


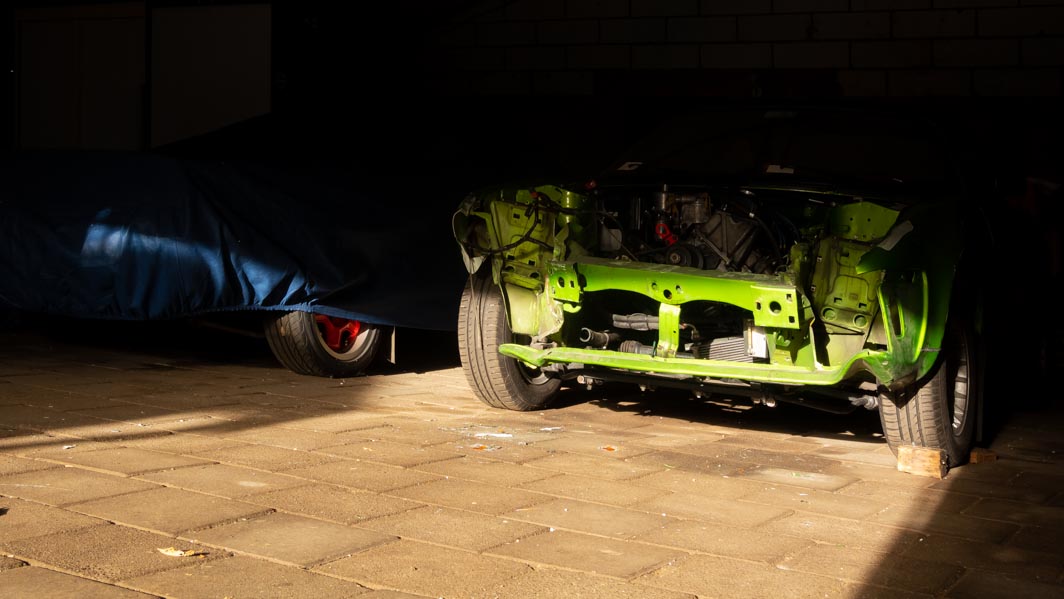
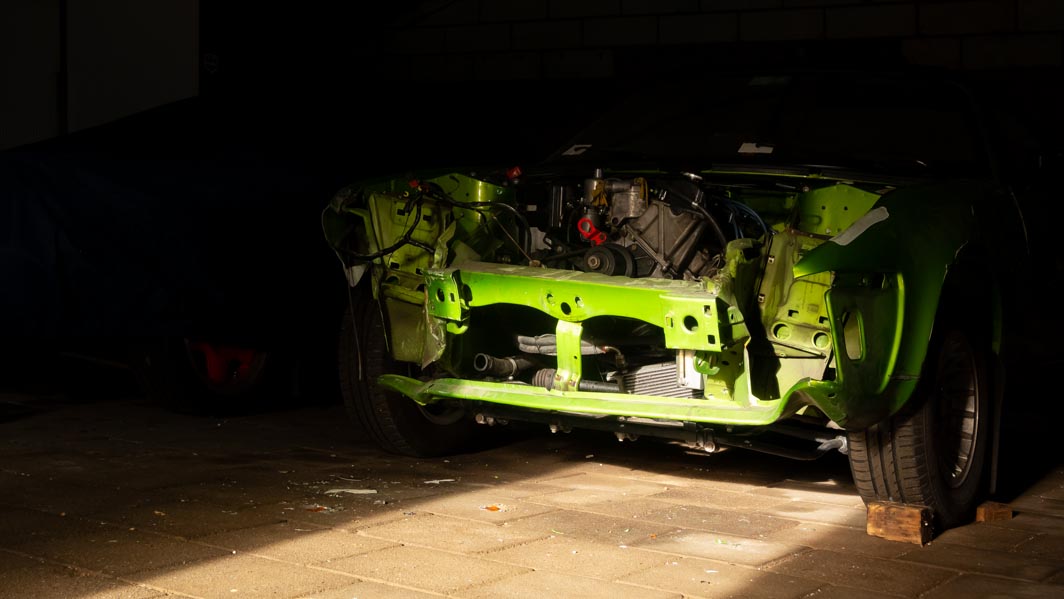
And as the weather was rather fine there was some lovely light entering through the shed’s gate. And as I always have a camera with me, that was something I couldn’t ignore!


Next in line is finishing the damage quote for the insurance, and settle the bill!. And when that is settled it is time to start planning the work. Though currently I haven’t found someone to do the paint preparations and painting. So that’s a bit that is still open …

Sunday 13 November 2022

DHC damage assessment part 4

Over the past two weekends I have spent a few more hours in the shed. Mainly to get a better impression of the extent of the overall damage to the front of the car. And the only way to do that properly, was by removing as much of the bent and crumpled steel as possible. The first challenge being the remains of the front bumper. Luckily the impact from the crash had almost peeled of the bumper cover. And the few remaining fixing points could be removed fairly easily. This couldn’t be said of the bumper bar itself. Due to the impact damage everything was compressed, resulting in the front bumper’s RH mounting nuts being completely inaccessible. But with an angle grinder and a flat cold chisel I was able to create enough room for a small spanner. Result, though it took me the best part of a Saturday afternoon!


Next on the to do list were the remains of the headlamps and their lifting mechanism. I had a faint hope that some of the parts might be salvageable. But it wasn’t to be. Everything turned out to be either crushed, cracked, shattered, broken or bent! Including some of the wiring connectors sitting behind the headlights.


With the head lights out of the way the remains of the cooling system were removed. First the fan shroud was cut open so it could be removed. The fan assembly itself had sheared of completely. Though it was rather surprising to see that not the viscous coupling but the pulley had broken off. The assembly had wedged itself between the remains of the radiator and the pully. But with the right tool (long tyre lever) and brute force, it could be removed. After which the radiator could also be removed. Again all parts are fit for the bin only.


Final job was the removal of the remains of the nose panel. Biggest challenge here was to try and get the wiring harness free without any damage. To achieve that I cut the top of the panel from left to right. This enabled me to fold the panel open. Doing this also opened up the crushed areas where the wiring harness got trap by the accident. The harness could be removed pretty easily after that. Only to find out the wires of the harness were crushed in several places! Cutting the panel open also helped with the removal of the entire panel.


And it gives a much better picture on the extent of the damaged area. So far the only part that looks to be reusable is the oil cooler.


The spoils so far


Wednesday 2 November 2022

DHC damage assessment part 3

Or judgement day today! This evening was spent in the shed with two mates to access the damage and to decide on the action plan for the repairs. There were a few options, but it was quickly decided that the best and easiest way to tackle the job, is to repair the current shell. Which means replacing (part off?) the front chassis legs. But that repair is covered in the official workshop manual.
But probably the biggest challenge will be to get all the new panels aligned properly. Though the tolerances on these cars are fairly wide!, and I do have all the dimensions and measurements needed in the mentioned manual! 


So next on the to do list are;
  • Draw up a list off all parts needed for the repair;
  • Get a quotation for a full respray;
  • Finalise the damage report, including estimated costs, and sent it over to the insurance;
  • Dismantle the front of the car, including emptying the entire engine bay;
  • Start the repairs and see what was overlooked …