It’s been a while since my last update on the progress on the FHC. And there was a simple reason for this, indeed lack of progress! But with the temperatures slowly rising, it was time to load the main harness in the back of the LaRo and head for the shed. The still empty space that greeted me on arrival;


With the main harnesses base (= fuse box mounting bracket) in place, and the front of the harness fed through the firewall into the engine bay, it was time to connect the main harness to the body harness (RKC 3630). Followed by taping the latter in position along the inside of the right hand sill. Which was pretty easy with flexible wires due to the fine warm spring weather;

The next job was feeding the harness to the front of the car. To make life a little easier I taped all connectors to harness, using masking tape. This to prevent them from catching on any irregularities hidden inside the front wing area. And the front of the harness was than taped to an old throttle cable. This was done to help guiding the harness through the right hand front wing towards the nose panel


The dust jacket was there to prevent any paint damage of course!

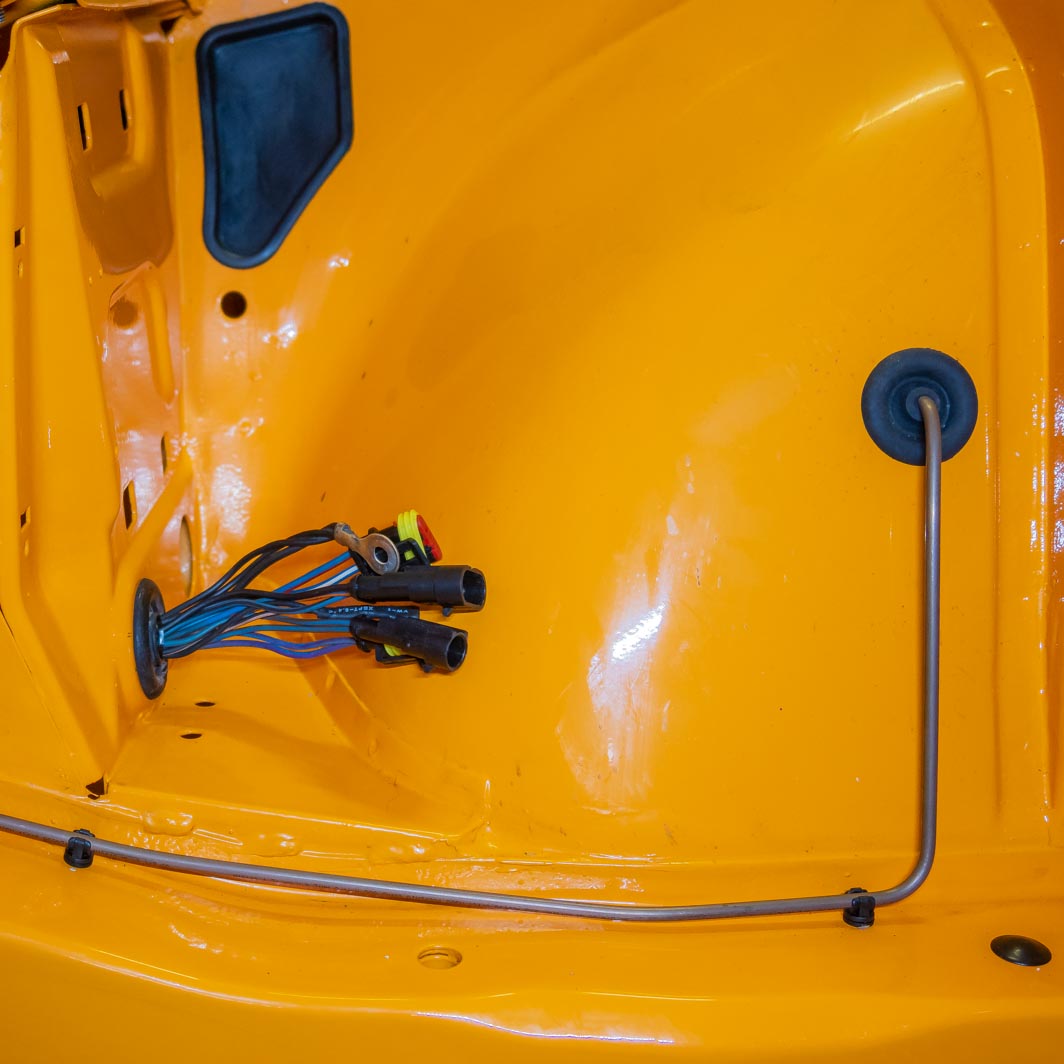
the connector for the wind screen wiper motor and the two large grommets
Final job was feeding the harness across the nose to the left hand head light area. This is a fairly easy job, as long as you take your time to feed all connectors through and over the various gaps and stiffening braces in the nose area.


the welded on tabs to secure harness in position.
These will each get a length of heat shrink tubing fitted before they are put into use.
No comments:
Post a Comment