Sunday, 23 October 2022

DHC damage assessment part 1


Earlier this week I received a Whatsapp message from a friend, including the above picture of my DHC arriving at his premises. Needless to say that I planned myself a few hours off from work, to have a look at the car as soon as possible!
So last Wednesday I drove over to the workshop to have a first proper look at the extent of the car’s damage. As the car was on one of the lifts and the bonnet was still locked solid, we decided to limit the inspection to the bottom of the car, and leave the engine bay till I will be able to remove the bonnet at my leisure in the shed.
The inspection itself revealed a few possible positive points. These being the suspension, steering and engine. It looks that these are all undamaged, there is a little doubt on the sub frame though. But as there are no visible marks it should be salvageable:


The not so good points are all other parts. Both chassis legs are badly damaged. With the damage extending as far back as the rear of the sub frame. See the indentation behind the sub frame. So it looks like both chassis legs need replacing right up to the joint at the front of the transmission tunnel. Luckily that repair is covered in the official work shop manual!


At least the tub looks to be completely undamaged. Contrary to the front of the car, which is quite a mess of mangled steel, and shattered plastic and alloy bits. And with the amount of the front bumper sticking out to the left it was apparent from the beginning that the complete front had been bent in that direction. As this torn out bolt from the radiator support clearly shows.


And still further up front everything is shattered or flattened by the impact:


Will see how everything looks once the bonnet has been removed. But before that is going to happen the car will be back home in the shed.


Sunday, 9 October 2022

FHC resto nr. 144; Main harness part 2


A short update report this time, but also an important one for the main harness. Over the weekend I finished the two parts that are the back bone for this harness. To start with the fuse box mounting bracket (TKC 3343). Though I have to point out that the bottom right U-type spire nut, in the lower picture, has been replaced since the picture was taken. For obvious reasons!


And the relay holder (TKC 1035). As the fuse box mounting bracket, this too was powder coated. The lokut nuts are new items, whereas the cable ties are the original, cleaned, items. The relays and the Pektron unit are cleaned original items;


The anoraks might have noted that this is the early variant, which has two lugs, which are bolted to the two brackets welded to the inside of the firewall on earlier cars.


Instead of the single stud on a fairly pliable plate welded to the top of the holder. Probably introduced to simplify production. But the overall lay out of this bracket is exactly the same as the later (European) items.
Next will be the lengthy process of inspecting and cleaning the remaining parts of the harness itself.

Sunday, 2 October 2022

FHC resto nr. 143; Main harness part 1


Despite the oncoming project I really didn’t want, I continued work on the ’76 car. As mentioned earlier, I will be converting this car to the later wiring set up, using the wiring from a 1981 car.


So I made a start on cleaning and refurbishing the main harness (PKC 1946), starting with the part of the harness from the point where it enters the engine bay (through the firewall) and from there towards the front of the car. This part provides power to the wiper mechanism, the various front lights and horns.
First job was removing the harness’s wrapping tape from the various ends to the fire wall grommet. This revealed no hidden horrors.


As you can see the overall condition of the wires was pretty good, though a little dirty in places. But no kinks or signs of chafing! The above underlines the pretty good quality of the original wiring of these cars. As long as you bear in mind they all are well over 40 years old by now and treat them as such!
With the “lower” part of the wiring checked it was time to switch my attention to the various connectors. And as expected 40+ years out in the open hadn’t been to kind to them. The most common problem being corrosion on some of the contact pins inside the connector blocks. But as these were all meant to be changed for modern weatherproof connectors (AMP Superseal), the next job was noting down the order in which the cables should be connected to the various connector blocks. I always use two methods for that, a good old pen + notepad and my digital camera;

Left hand side light, fog light and repeater connectors

Right hand headlight connectors

Connector for the left hand head light mechanism moto

Left hand headlight connector

One of the headlight assembly earth points

Connector block for the wind screen wiper motor

With the inventory of all the various connectors finished, it was time for the next stage. Removing all connectors from the harness and replacing them with new items. Followed by the final stage, wrapping the harness with new non adhesive PVC tape.


Next part of this little project will be cleaning and refurbishing the heart of this harness, the fuse box, the various relays and it’s connectors and their brackets.


Monday, 19 September 2022

Club Triumph's 10 Countries Run 2022

Due to circumstances no traditional report on the 10 Countries Run this time. Though it was a good event while it lasted, with the car performing faultlessly, including the brakes. A few pictures of the first few days of the event.

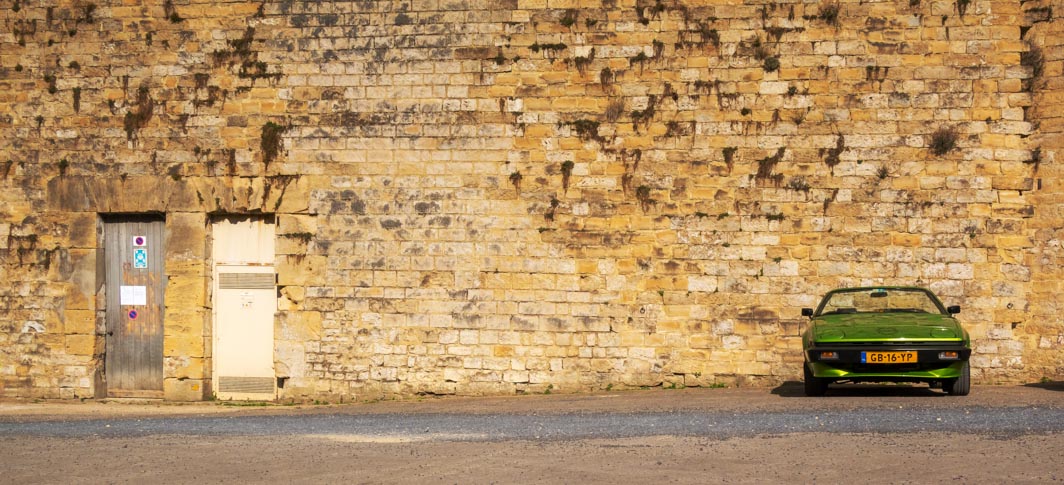
A lonely TR7 in the courtyard of the Fort in Sedan (F: 2022-09-05)

In the hotel’s courtyard in Sedan (F: 2022-09-05) with the hotel’s entrance in the back ground

The car seen from our hotel room (F: 2022-09-05)

Some of the other participants rallying in the hotel’s courtyard (F: 2022-09-05)

Late in the evening when we were forced inside by a passing thunderstorm (F: 2022-09-05)

The official start of the event on the parking area,
in front of the LeClerc Supermarket in Sedan (F: 2022-09-06)

Some of the other entrants at the start in Sedan (F: 2022-09-06)

And the final moving footage of the car,

On top of the Timmelsjoch (A: 2022-09-07)

On top of the Timmelsjoch (A: 2022-09-07)

On the eastern side of the Timelsjoch,
just past the “long” tunnel (I: 2022-09-07)

Jaufen Pass (I: 2022-09-07)

Jaufen Pass (I: 2022-09-07)

Passo di Giau (I: 2022-09-08)

And the last picture of the car as she served me for over 12 years,
taken on the third day, on top of the Paso di Giau (I: 2022-09-08).

Sadly within an hour of the last picture being taken, I was caught by surprise by an oil or diesel spill in a narrow bend of the Passo Valparola (SP24), resulting in a head on collision with an oncoming SUV. Luckily no one was (seriously) injured. But the car got badly damaged.
At the time of me typing these words, the remains of the car are still on their way home. So I have no clear picture of the extent of the damage yet. And as a result no definitive answer if the damage can be repaired with the parts I have in stock. Or if I do have to scrap the car and use the remains as a parts donor. Time will tell …