
Two weeks ago I removed the water pump with the idea of reconditioning it again. But on closer inspection I found the new (after market) seal hadn't seated properly. This matched my hunch pretty well. So after exchanging some ideas with various people who should have knowledge on the subject, I decided to bite the bullet and go for a brand new water pump. And as these have become fairly expensive, I decided to also renew the water pump’s spindle bush. And with the correct tool, removing this bush should have been easy.
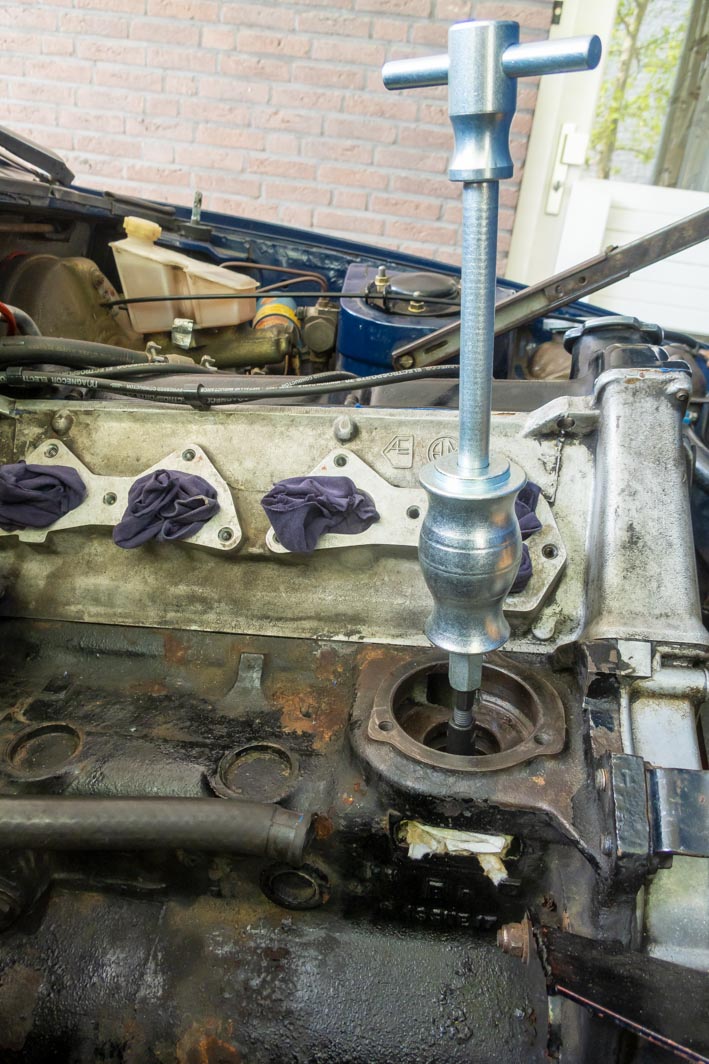
Sadly though that didn’t work. The available rim at the bottom of the bush was to thin the get enough grip on the bush, as a result the puller slipped through the bush constantly. And because of that the bush got damaged. As there was no way back it was time for a rethink and some appropriate brute force. Using an old reshaped screw driver as a cold chisel between the engine block and bush. It looked fairly crude and messy but it did the job without any damage to the block or the jack shaft. The bush did suffer though!


After the bush was successfully removed and everything cleaned thoroughly it was time to fit the new bush. And with the aid of a small tool made from a damaged water pump axle and some lubrication, the bush could be gently tapped into position. At least that went quickly and without drama!


This also applied for the next job, fitting the water pump. Again all contact surfaces in the block and on the gears were lubricated. After which the pump slipped in without drama. I only had to help a little with a ring spanner on the impeller bolt (turned counter clockwise) to get the pump seated correctly.

Final jobs before the time ran out on Easter Sunday were measuring the required gasket thickness for the water pump cover, fit the cover and fit the inlet manifold. When I fitted the inlet manifold last year it felt like the threads of one of the mounting holes in the head was damaged. That's why I had mentally prepared myself for this job, and had a thread repair kit on hand. But I needn’t have worried. This time all (stainless) bolts went in without any problems!
Remain the final jobs for later in the coming week;
• Connect all hoses;• Fill the system with coolant;• Check for leaks;• Refit the carburettors.

No comments:
Post a Comment