Friday, 18 December 2020

Seasonal Greetings


2020 is drawing to a close quickly, and I am quite happy to turn my back on it. Welcome 2021.
I wish you all a Merry Christmas and a Happy New Year. Hopefully 2021 will be better than 2020!

Sunday, 13 December 2020

FHC resto nr. 117; Small jobs


While working in the shed, dismantling the parts donor, I also used some of the time to carry out a few small jobs on the ’76 car. The most important one was fitting the front side light armatures to the front bumper. Apart from mixing up the left and right hand lights, and trying to fit one upside down, that job went pretty smoothly. Mental note made that next time I will have to do this job it will be easier to position the bumper in its normal position before I start and not upside down 😶


As you can see, the finished product doesn’t look too shabby! Only have to adjust the rubber surrounds a bit. But as it was fairly cold, they were too stiff, so that has to wait till warmer weather (spring?), or the hair drier!
Another important part for this car that looks in fairly good condition is the gear lever and gear lever knob. These were removed from the parts donor, while stripping the interior. And as you can see the assembly is in very good condition. Much better than the one from my spares stock. And the infamous dust cover is also in good condition, with the small mounting bracket still in place and undamaged. Well pleased with that find!


But most importantly is the gear lever knob. All my spares have signs of de-lamination along the edges of the shift pattern insert. As you can see in the picture below this one doesn’t.


Final job on the ’76 car was trial fitting the revised stripes that go over the front wing off the car, between door and bonnet. They do fit, but only just. So I’ll have to be careful when applying them, as alignment is critical. This is because they are just about the right length, with no margin to play with. Will see ones the weather is good (= warm) enough to apply them …

Parts donor part 3

I spent some quality time in the shed again yesterday afternoon, spending a small amount of time on the ’76 car (more on that later). But most of the time was spent clearing out the interior of the parts car.
My original plan was to remove the dashboard assembly and the main wiring harness. But I thought it would be better to first strip the rest of the interior. This was prompted by the fact that a lot of the interior trim had already been (partially) removed or loosened.
As the seats were already loose in the car that seemed to be the best place to start, followed by the centre console (yes I had to crawl underneath the rear of the car to undo the hand brake cable, in order to remove the gear lever surround) and the rear bulk head trim.
The parcel shelf is only fit for the skip, the rear bulkhead trim might be useful in future. So that was put aside, leaving me with a fairly empty interior.


Next came the body harness (RKC 3630). Most of the connections had already been disconnected. Only the earth points and heated rear window wires were still in place. Easy!
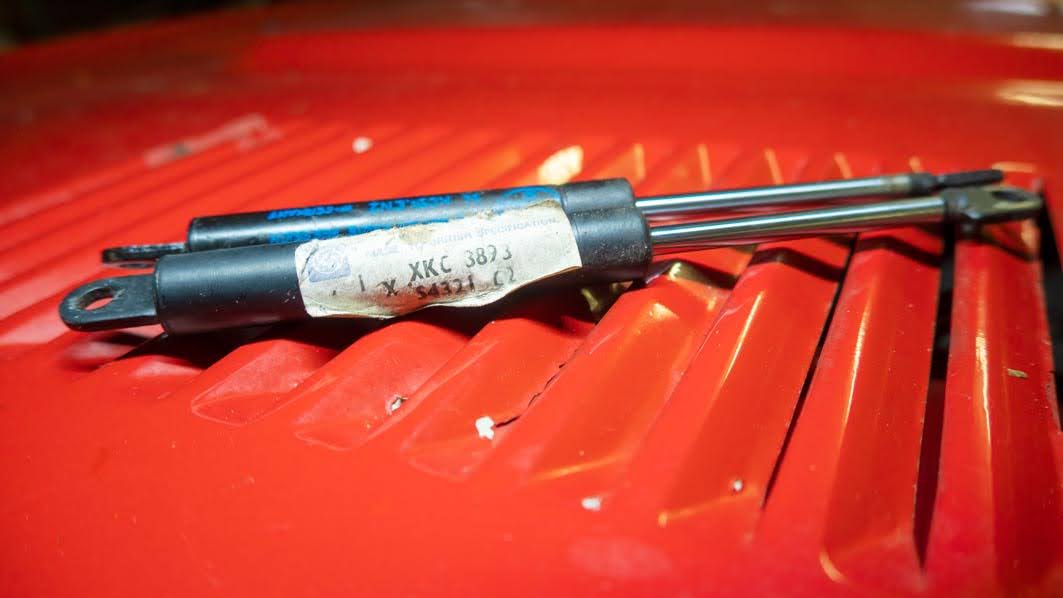
As there was still plenty of day light left, I removed some more parts including the very dead boot lid struts (clearly replaced for obvious reasons 😝), the door strikers, the rear quarter grilles, and the rear window.


I was quite surprised that the last item only took me about 5 minutes to remove from the car. And the seal looks like it might be fit to be used again after a bit of cleaning. Final pieces I removed were the drip gutter trim pieces. Also easy using a soft faced hammer.
The final job for the day was removing the carpets and inspecting the floor sections.


As you can see are both rear sections in fairly good condition. But both foot wells have signs of standard amounts of rust, with the drivers foot well also showing signs of a water leak. Might be that some extra welding is necessary in that area.


To be continued
!

Sunday, 6 December 2020

FHC resto nr. 116; Refurbishing the front side lights (part 2)


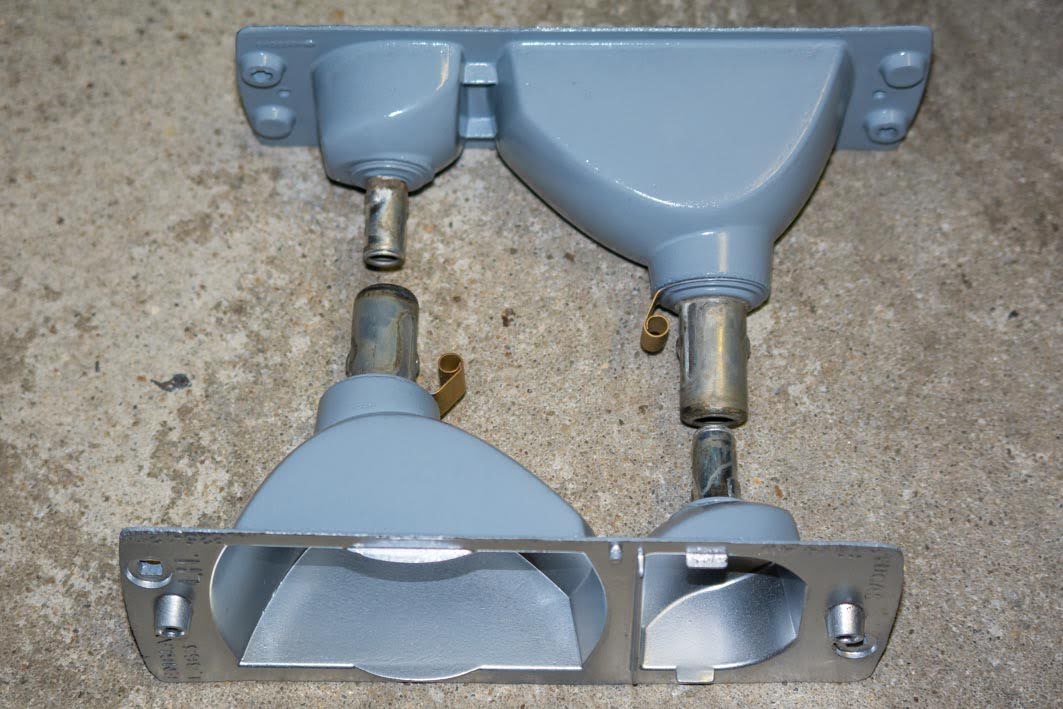
In my previous post on this subject, I finished with two sets of bead blasted side light armatures. The next stage was painting them. The inside was easy. Here I used VHT chrome paint, which can be applied without a primer. For the armature’s exterior I did use the more traditional approach. First a few layers of grey primer, followed by a few black layers. But than I found out that I had ran out of black paint. But I did have some clear lacquer and wheel silver left. After a few small test patches I opted for the clear lacquer. Gives a nice grey finish and it will be hidden from view anyway. Only other problem I encountered were the outside temperatures. Really too cold to paint parts. But storing all the parts at room temperature and then quickly taking them out one by one to paint, and using a hair dryer to keep them on temperature, worked fine. To make sure the paint would cure properly I put them in the living. Where a music stand can also be used for!


Quite pleased with the end result. And from a distant it even looks like the original finish (when new that is).


With the armatures painted I could switch my attention to the remaining parts, mostly the wiring. After a visual inspection I choose these parts, but after checking the wires with a multi meter I found half of them either were badly corroded inside, or had hidden cable breaks. The corrosion turned out to be a problem I found with more of the wires. Luckily I did have a few spares. And in the end I had a complete set of wires plus a few smaller parts.


And after cleaning everything thoroughly, cutting the new PVC cable sleeves to length and selecting the correct connectors it was time to reassemble everything.


And with the correct tools that wasn’t too difficult. Though always a bit of a fiddly job to crimp these connectors to the wires and fitting them to the connector blocks. But everything went fine. I even thought about fitting the rear gasket before fitting the connectors …


Another one of those many seemingly easy jobs finished. In this case, with everything added up, I think refurbishing these side lights took me somewhere around 16 hours (including a few trips to collect stuff and blasting, etcetera). No wonder this project is taking so long 😵