Sunday, 22 January 2023

FHC resto nr. 146; Main harness part 4

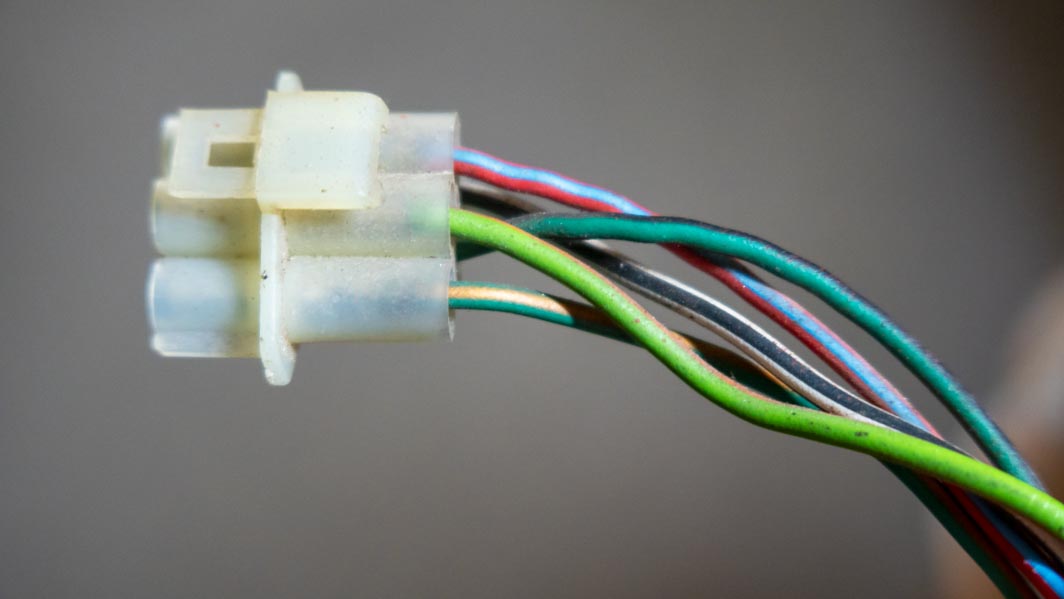
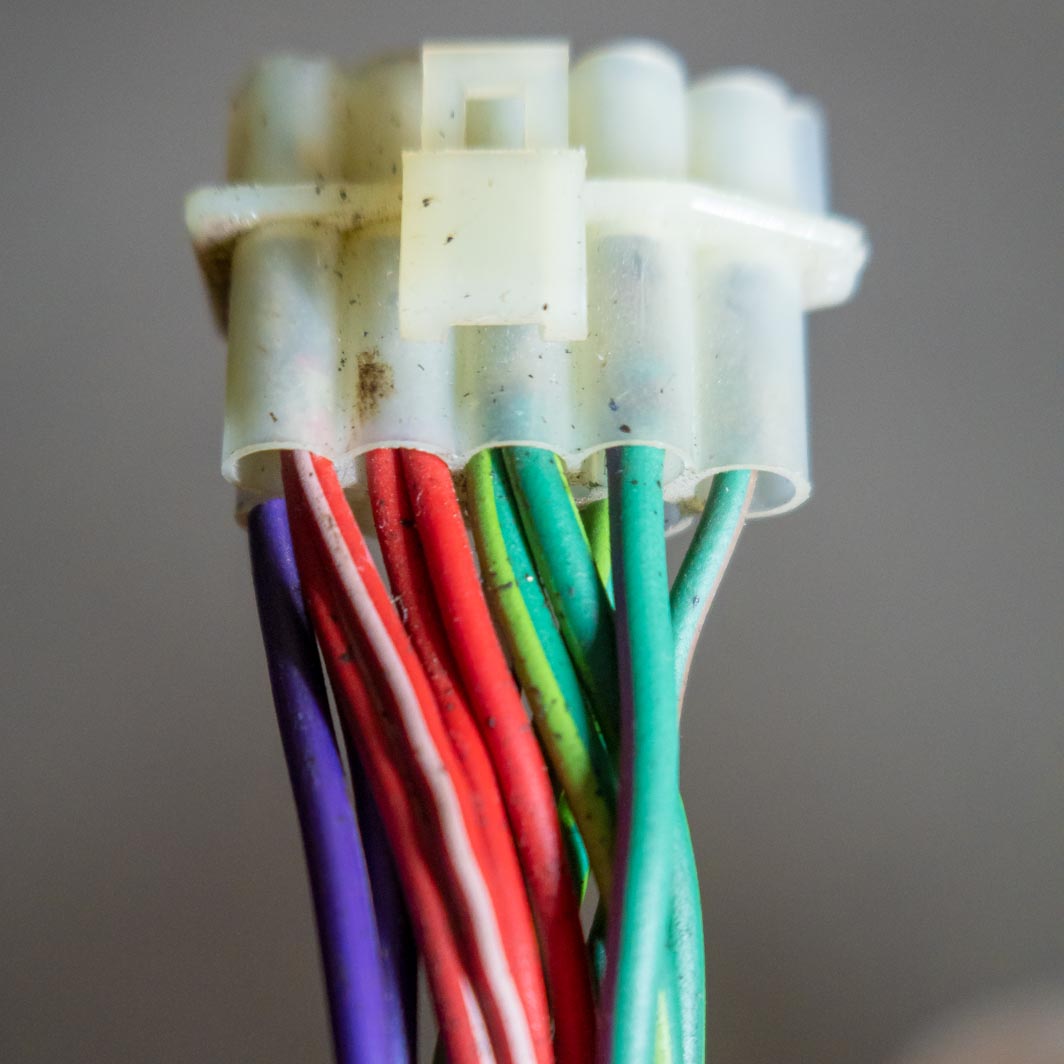
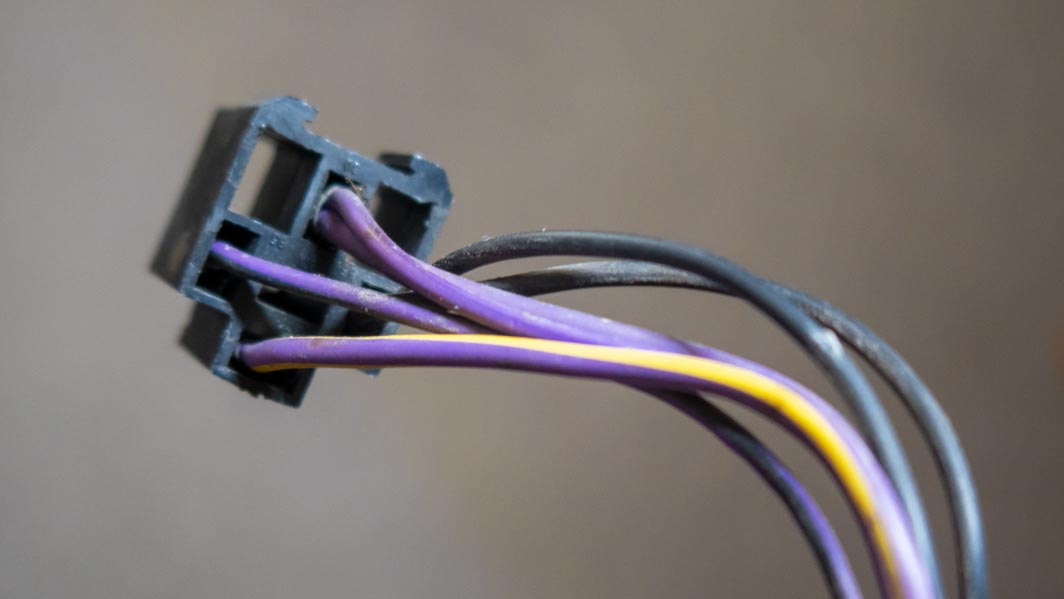
Spent some more time on the main harness over the past week or so. But before starting with any physical work it was time for another record of the remaining connectors and relays (WARNING: picture heavy post 😏). Starting with the left hand side of the fuse box;

The connector for the right hand head light motor relay:


The connector for the head light flash unit (aka the Pektron unit):

The connector for the head light flash relay:


And from left to right one of the two connectors for the engine harness,
the head light motor circuit breaker and the hazard flasher unit:

The two connectors for the engine harness:


The inline fuse between the alternator and the hazard flasher unit. According to my Leyland wiring code table brown with a purple tracer should have something to do with the alternator regulator feed:

The original connectors for the radio, with the speaker wires in the background:

And the (unused) connector for the illumination of the automatic gear lever gate:

This area also contained the only modification added to this harness. And of course this modification was done with an infamous “fire starter” (maybe better known as a Scotchlock connector) Time for a proper repair, using a non-insulated fixed crimp connector and some heat shrink tubing:

Next inline were the connectors for the centre console and heater area. These are all positioned more or less on top of the heater unit:

Black 3-pin connector with two wires connected:

7-Pin connector:


4-Pin connector:

9-Pin connector with eight wires connected:


3-Pin connector with two wires for the heater unit:

5-Pin and a 1-pin connector:


2-Pin connector :

And various single male and female spade connectors:


The connectors for the instrument panel and steering column area;

The 5-pin connector for the windscreen wash/wipe switch:


The 9-in connector for the main/dip/flash and direction indicator switch:


The 5-pin ignition switch connector:


The 5-pin connector for the left hand door harness:


The four pin connector for the low coolant indicator unit. For the anoraks,
the unused hole in the connector block is blanked of with a plastic plug:


The connectors for the choke light switch:

The direction indicator flasher unit plus connector:

And finally a few details of the far end of the harness, the part supplying power to the coil and connecting the brake failure switch;

The beginning of the ballast wire (pink/white).
This is also the location of the harness I always use for connecting the power feed for the electronic ignition on my TR7’s:

And the wires for the coil (white/yellow and white/slate) plus the connector for the brake failure switch:

Next job will be cleaning and checking everything, including adapting the harness slightly for a feed for an electronic ignition module.

Wednesday, 4 January 2023

FHC resto nr. 145; Main harness part 3


It’s been a while since I last reported some progress on the ’76 car, and for obvious reasons! But over the Christmas break I managed to spend some time, not only on the DHC, but also on the main harness for the ’76 car. I left this project within a project in early October of 2022, when I finished the part of this harness from the nose of the car up to the point where it crosses the firewall. Time for a little update, covering the connectors and relays on the right hand side of the fuse box and the fuse box itself. First job was to record the position of the various wires in the connector blocks. A rather time consuming but also very necessary job!

The 5-pin connector for the connection between the main harness
and the body harness (RKC3630):


The 9-pin connector for the connection between the main harness
and the body harness (RKC3630):


The 5-pin connector for the connection between the main harness
and the right hand door harness (TKC3831):


The connector for the right hand head light motor relay:


The connector for the starter motor relay:


The connector for the horn relay:


As can be seen in the pictures above the overall condition of this part of the wiring harness was in pretty good condition. But I decided to keep to my standard routine nevertheless; dismantle, check, clean and put back together. As usual with this kind of work, my digital and analogue notebooks got plenty of use again!

And glad I did, as the 9-pin connector shown in the pictures above has two almost identical pairs of wires going in. One green/light green, the other light green/green! But in the end everything came back together. To be continued.


Thursday, 29 December 2022

DHC repairs #0

Over the past few weeks there have been a number of significant developments for the DHC’s repairs. To start with an agreement with the damage assessor over the total amount of the actual damage. And the insurance company accepted the report. They even paid rather promptly. Nice to see that sometimes things just turn out as they were promised!
With the administrative and financial part of the damage sorted, I can now start on the actual repairs. Well ... first sourcing the necessary body parts for the repairs. And the start has been pretty good so far!

A NOS nose panel;


A pair of also NOS front wings;


A pretty good second hand double bulge bonnet;


And a pretty good condition second hand US spec front bumper bar;

Another decision that I need to make soon is the plan of action for the repairs. Currently there still are two options;
  • Dismantling the car and repairing the current body shell;
  • Use the car’s original shell that has been lingering in a corner of the shed for many years;
Both options have their pro’s and con’s, but I currently lean towards the second one. Most important reason being that this shell has absolutely no accident damage. Though it is pretty rough around the edges. So the amount of work for both shells will probably be the same from a welding point of view. Also using the car's original (and almost completely dismantled) shell means I don’t need much extra storage space. This is because I can leave the car in one piece till the body work and painting has been completed. And most of the necessary space is currently taken up by the parts for the ’76 car! So a plan is slowly taking shape to finish that car while the body repairs for the DHC are being carried out. And once the ’76 car and the DHC’s body work are finished I can start transferring the DHC’s parts to the repaired shell. To be continued …

Wednesday, 21 December 2022

Calendar girl 2023

The cover:
A few pictures of the car during this year’s edition of Club Triumph’s 10 Countries Run,
including a glimpse of the damage sustained to the car during this event

Another year over and time for my traditional calendar post. Compared to the previous two years, 2022 should have been a better year from a “driving-my-TR7's” point of view. And it sure was till early September, when the DHC was badly damaged in a head on collision in the mountains of Northern Italy. Hopefully 2023 has some more positive moments in store.
So as 2022 draws to a close it is a good time to look back over the 12 years since I finished the restoration of the car in 2010. And what better way to do that, than with a selection of some of my favourite pictures taken during the many trips I enjoyed in my home area and abroad.

January:
Inside the Flimserstein Tunnel (8-9-2010 CH).
Homeward bound during her inaugural Alpine tour after the restoration was completed.

February:
Sunrise on top of the Sankt Gotthard Pass (9-9-2011 CH)

March:
Stopping for diner on the market square of the small village of Watou (4-9-2013 B)

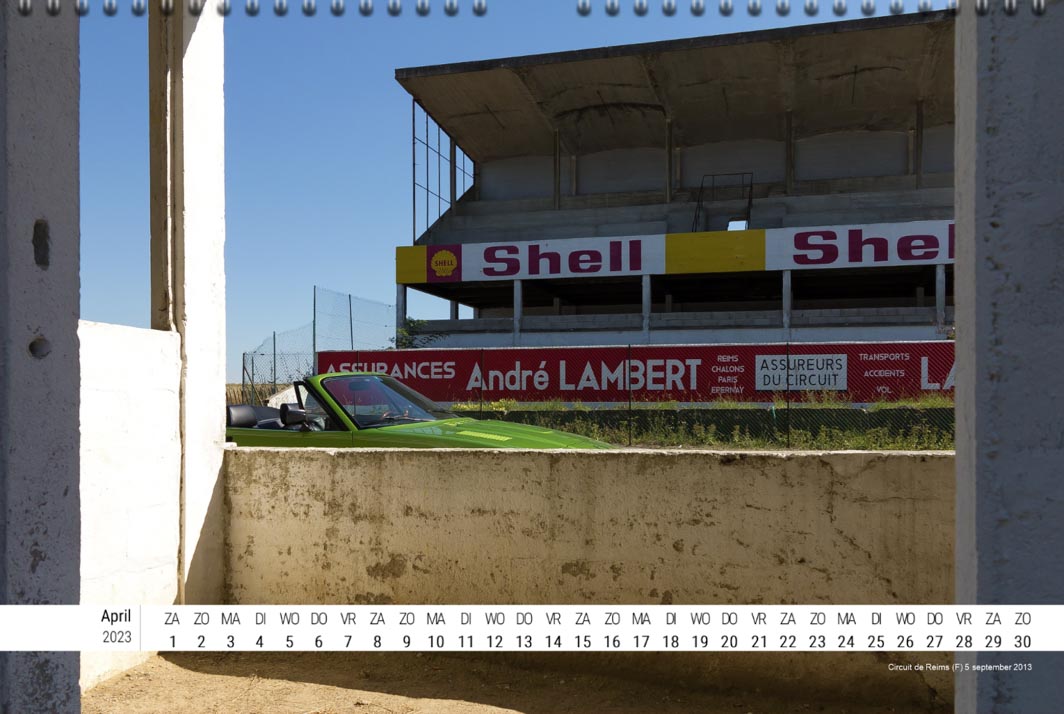
April:
In the pit lane of the old Circuit de Reims (5-9-2013 F)

May:
Near the dam of the Nant-y-Moch Reservoir in Wales (10-5-2014 GB)

June:
On the northern slopes of the Grossglockner Hochalpenstrasse (11-9-2015 A)

July:
During a local autumn tour near the “Broken Castle” in Grubbenvorst (4-10-2018 NL)

August:
A lovely summer’s evening in the wide valley of the river Meuse, near Neer (30-7-2019 NL)

September:
On the Passo Pordoi in the Dolomites (5-9-2019 I)

October:
In front of a spare weir door in Baarlo (12-12-2019 NL)

November:
During another local summer tour in Belfeld (24-06-2020 NL)

December:
On the eastern flanks of the Timmelsjoch (7-9-2022 I)

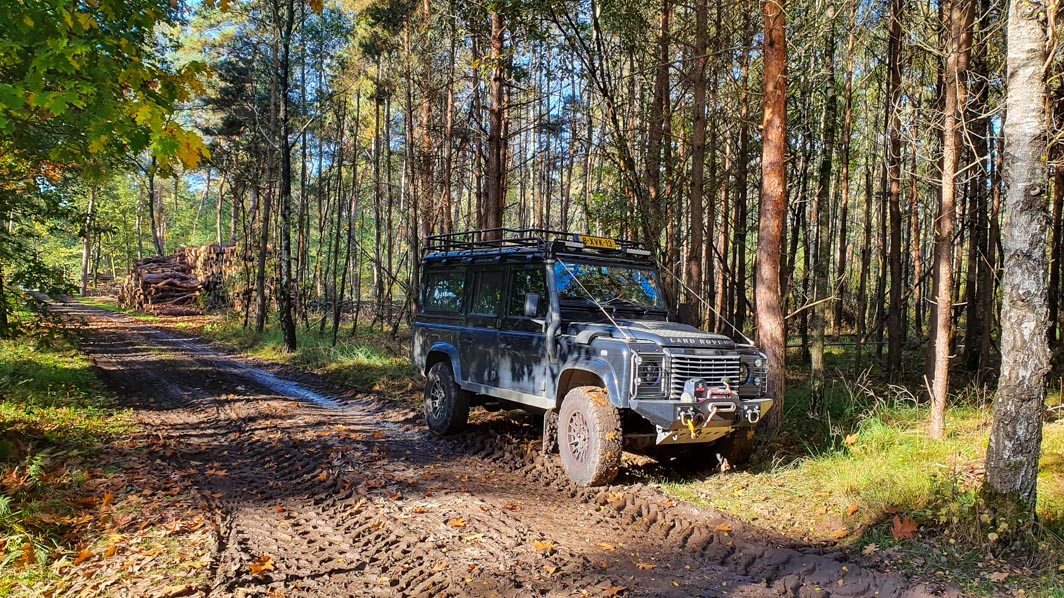
And of course there was the rather time consuming business called work. Here the Defender took all the credits for getting me around!

Renewal of a sewage pressure pipe in Geleen (21-06-2022 NL)

Renovation of a sewage water pumping station in Munstergeleen (03-08-2022 NL)

Another sewage pipeline renewal. This time in the woods and the countryside
between the villages of Heibloem and Roggel. And this project will continue well into 2023 (19-10-2022 NL)